I wish I could make all the things. But I have to accept that I don’t know how yet. I would really love to be able to make some things that I could sell, such as zippered pouches, but before I can do that I need to learn how to use a sewing machine.
I’ve had a sewing machine for over a year now and have basically only tried to use it once or twice. I got discouraged because sewing machines are so complex and yet so simple. I was recently talking about this with my good pal Michele of the awesome book blog Just A Lil’ Lost and we decided we can’t learn anything without taking a class, so that is what we did! Michele did some research on classes; we chose the Sewing Machine Essentials class at the fantastic shop The Workroom, in which you’re taught the very basics of a sewing machine and how to make a basic 16×16 pillow cover. The class is $55 and you may also have to purchase fabric, thread and pillow stuffing there for another $25 if you don’t have those materials already. I’m not naturally inclined to spend that on a couple hours but I’ve learned my lesson – I found the evening very useful and a lot of fun even though my perfectionist nerves threatened to overtake me. I learn by doing, not by just watching YouTube videos, so I feel more in control than I have before. Plus, I like my pillow. 🙂 We’ve signed up for the next class now – in a few weeks we’ll be learning how to make tote bags.
So here is how the evening progressed.
First we had to pick a fabric. Just one fabric. This is only about half of the wall, too! Definitely make sure to get there early so you have time to waffle between colours like I did.
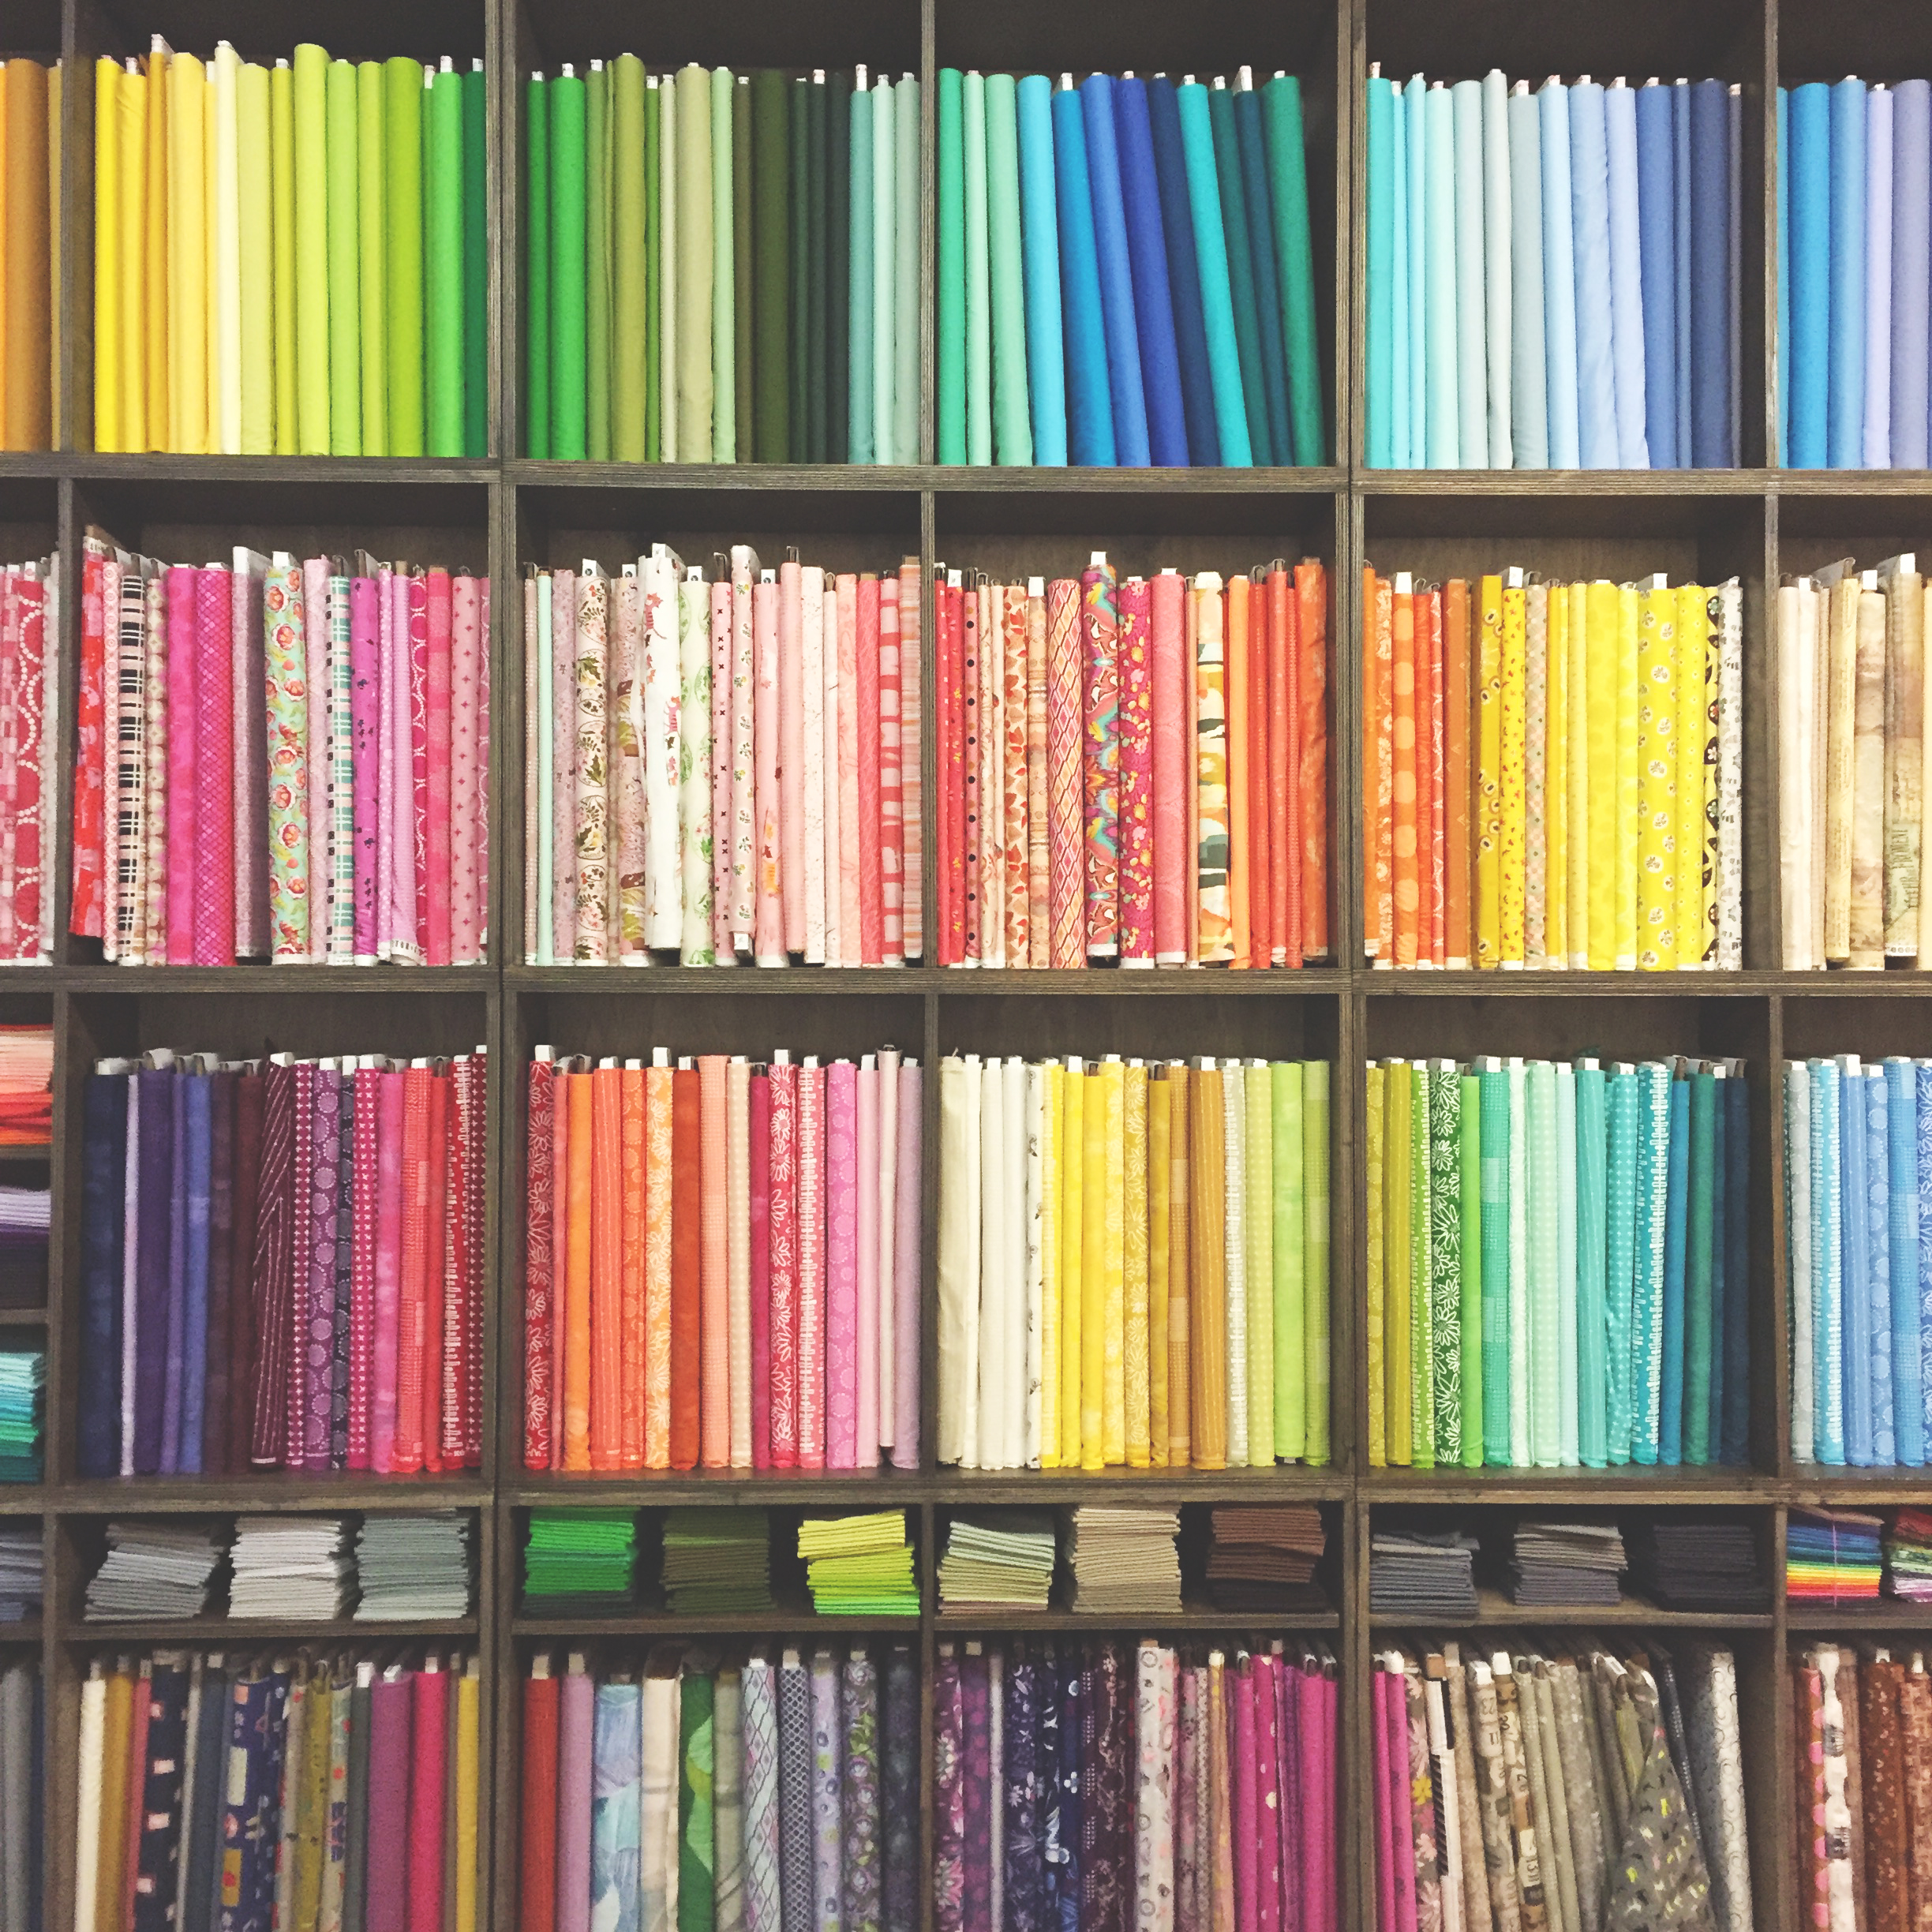
I ended up choosing a fabric that had mail on it, I felt pretty obligated.

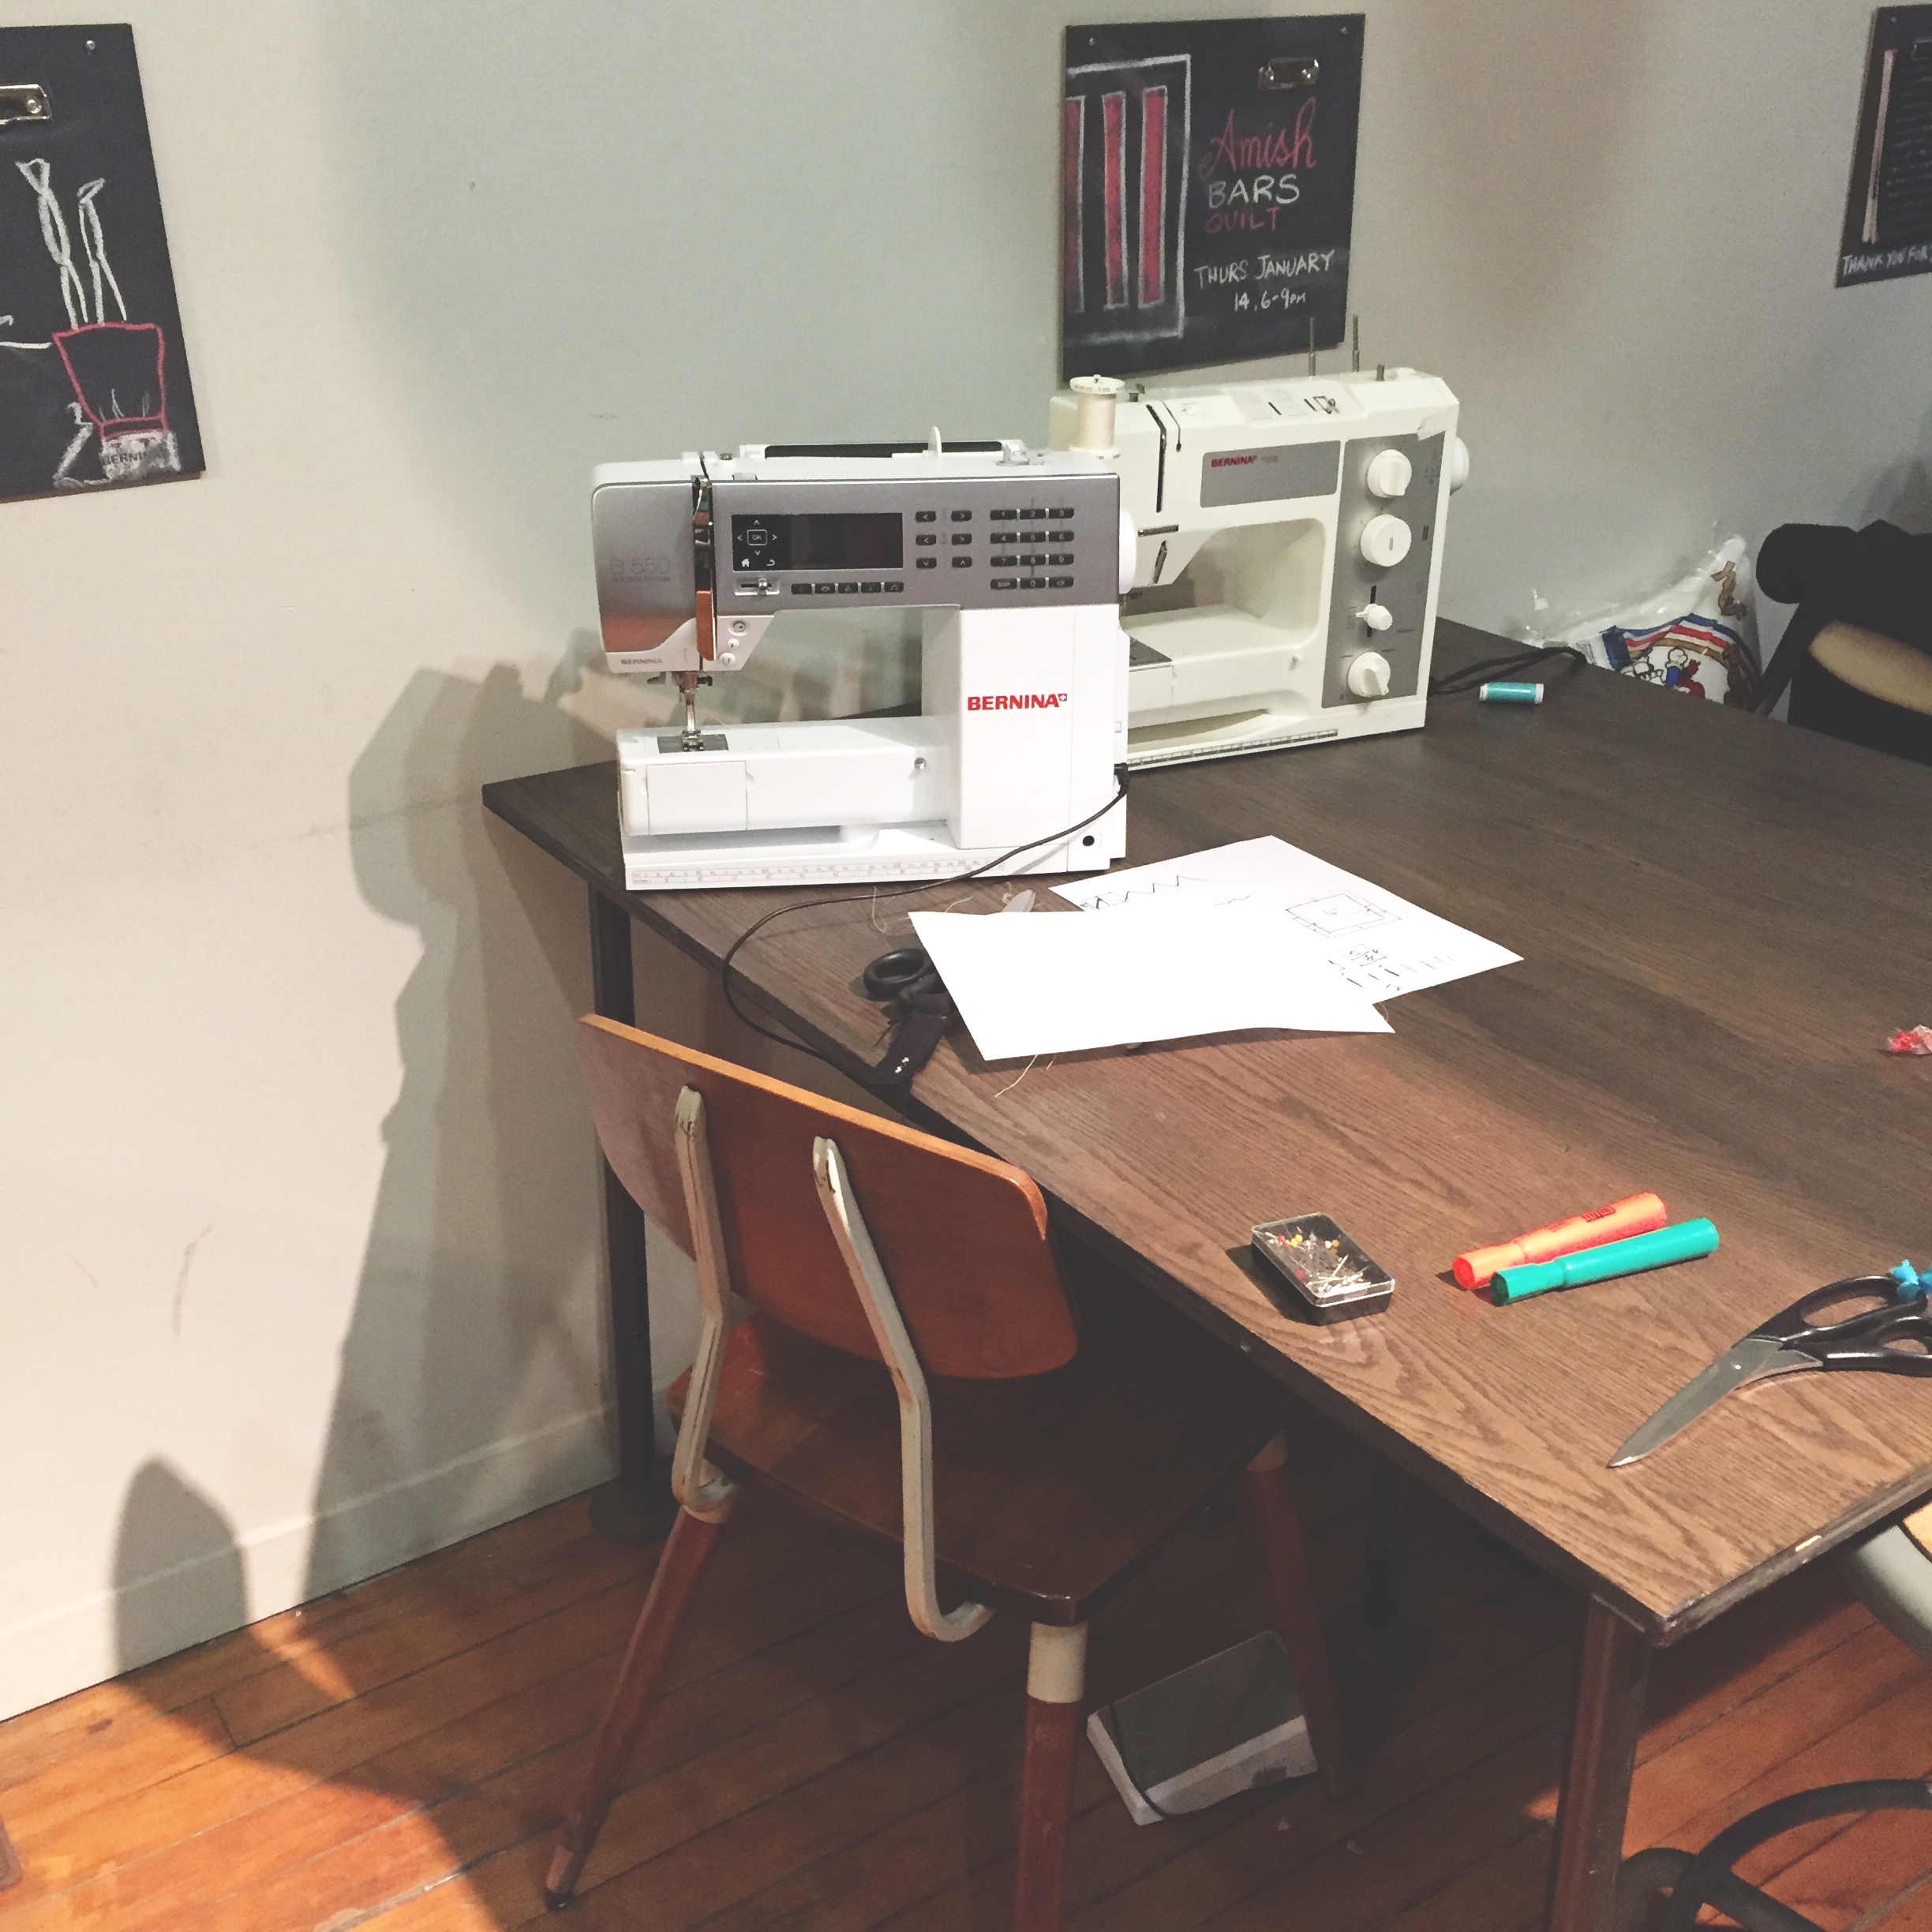
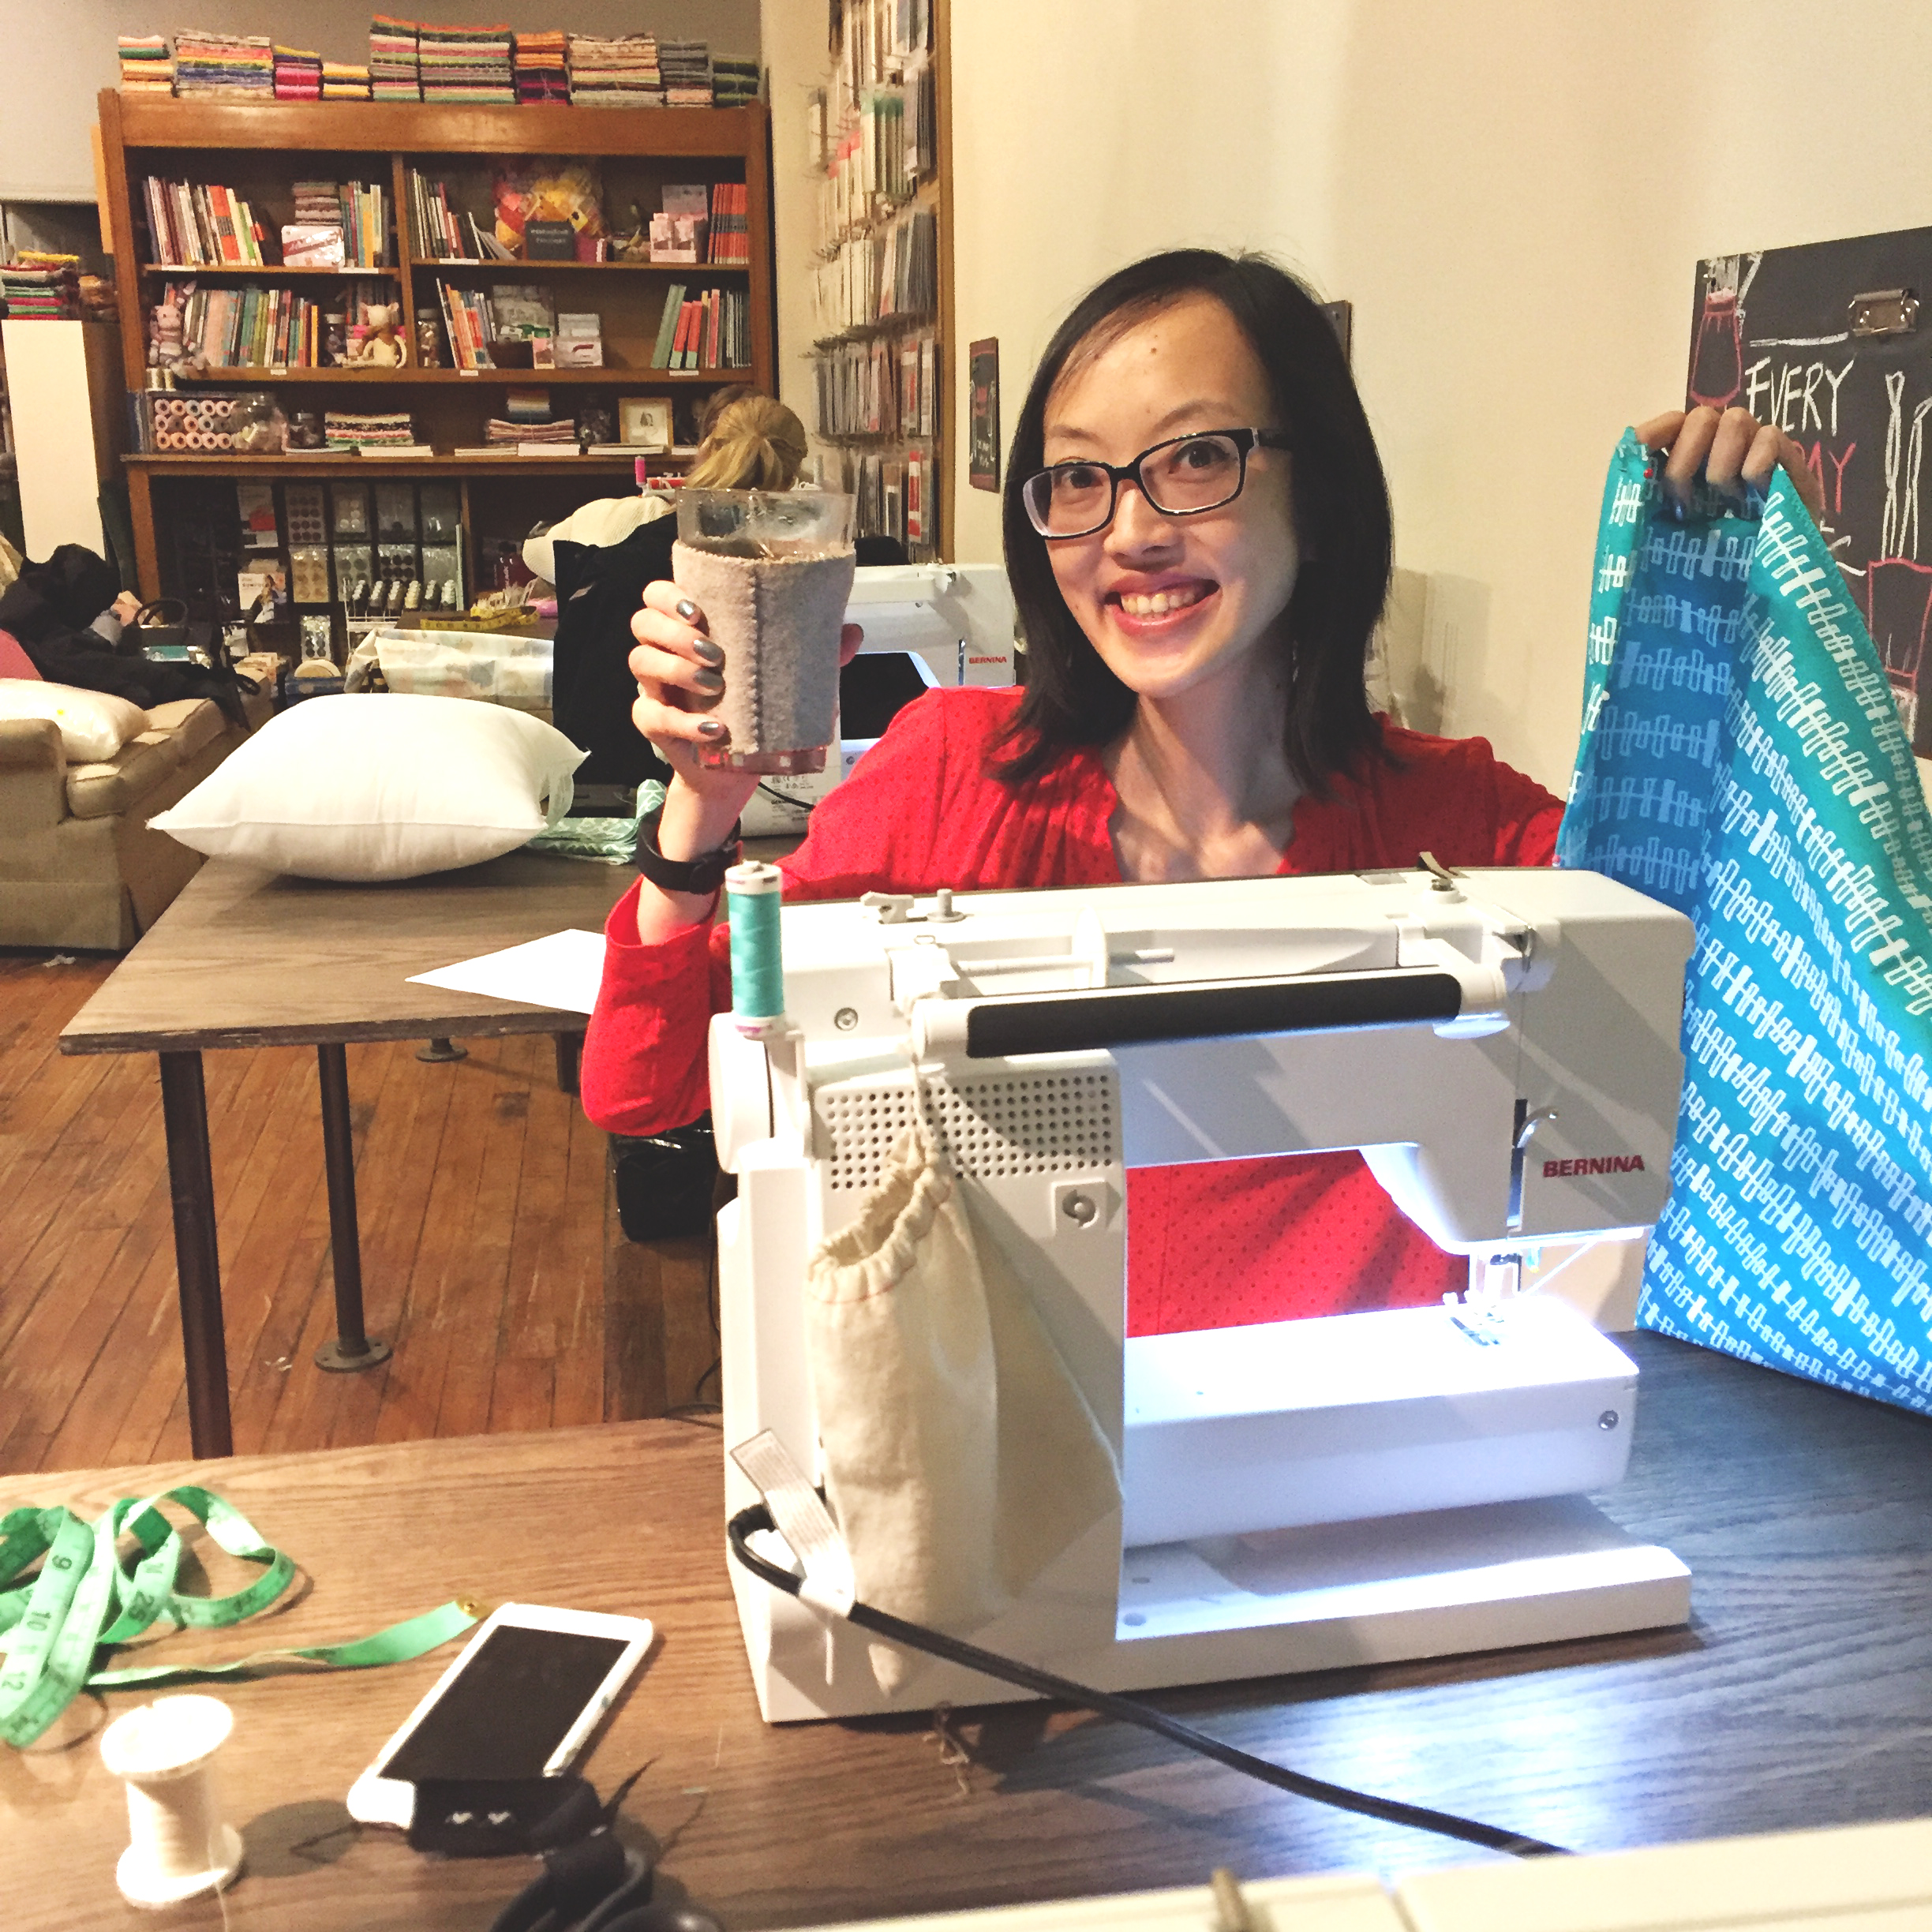
We spent about an hour listening to our lovely instructor introduce the machine and how to do the most basic steps. I was nervous going into the class and even more nervous learning on a digital machine because mine is analog, but it’s still good to know, and the teacher took time to explain the analog one to me after.
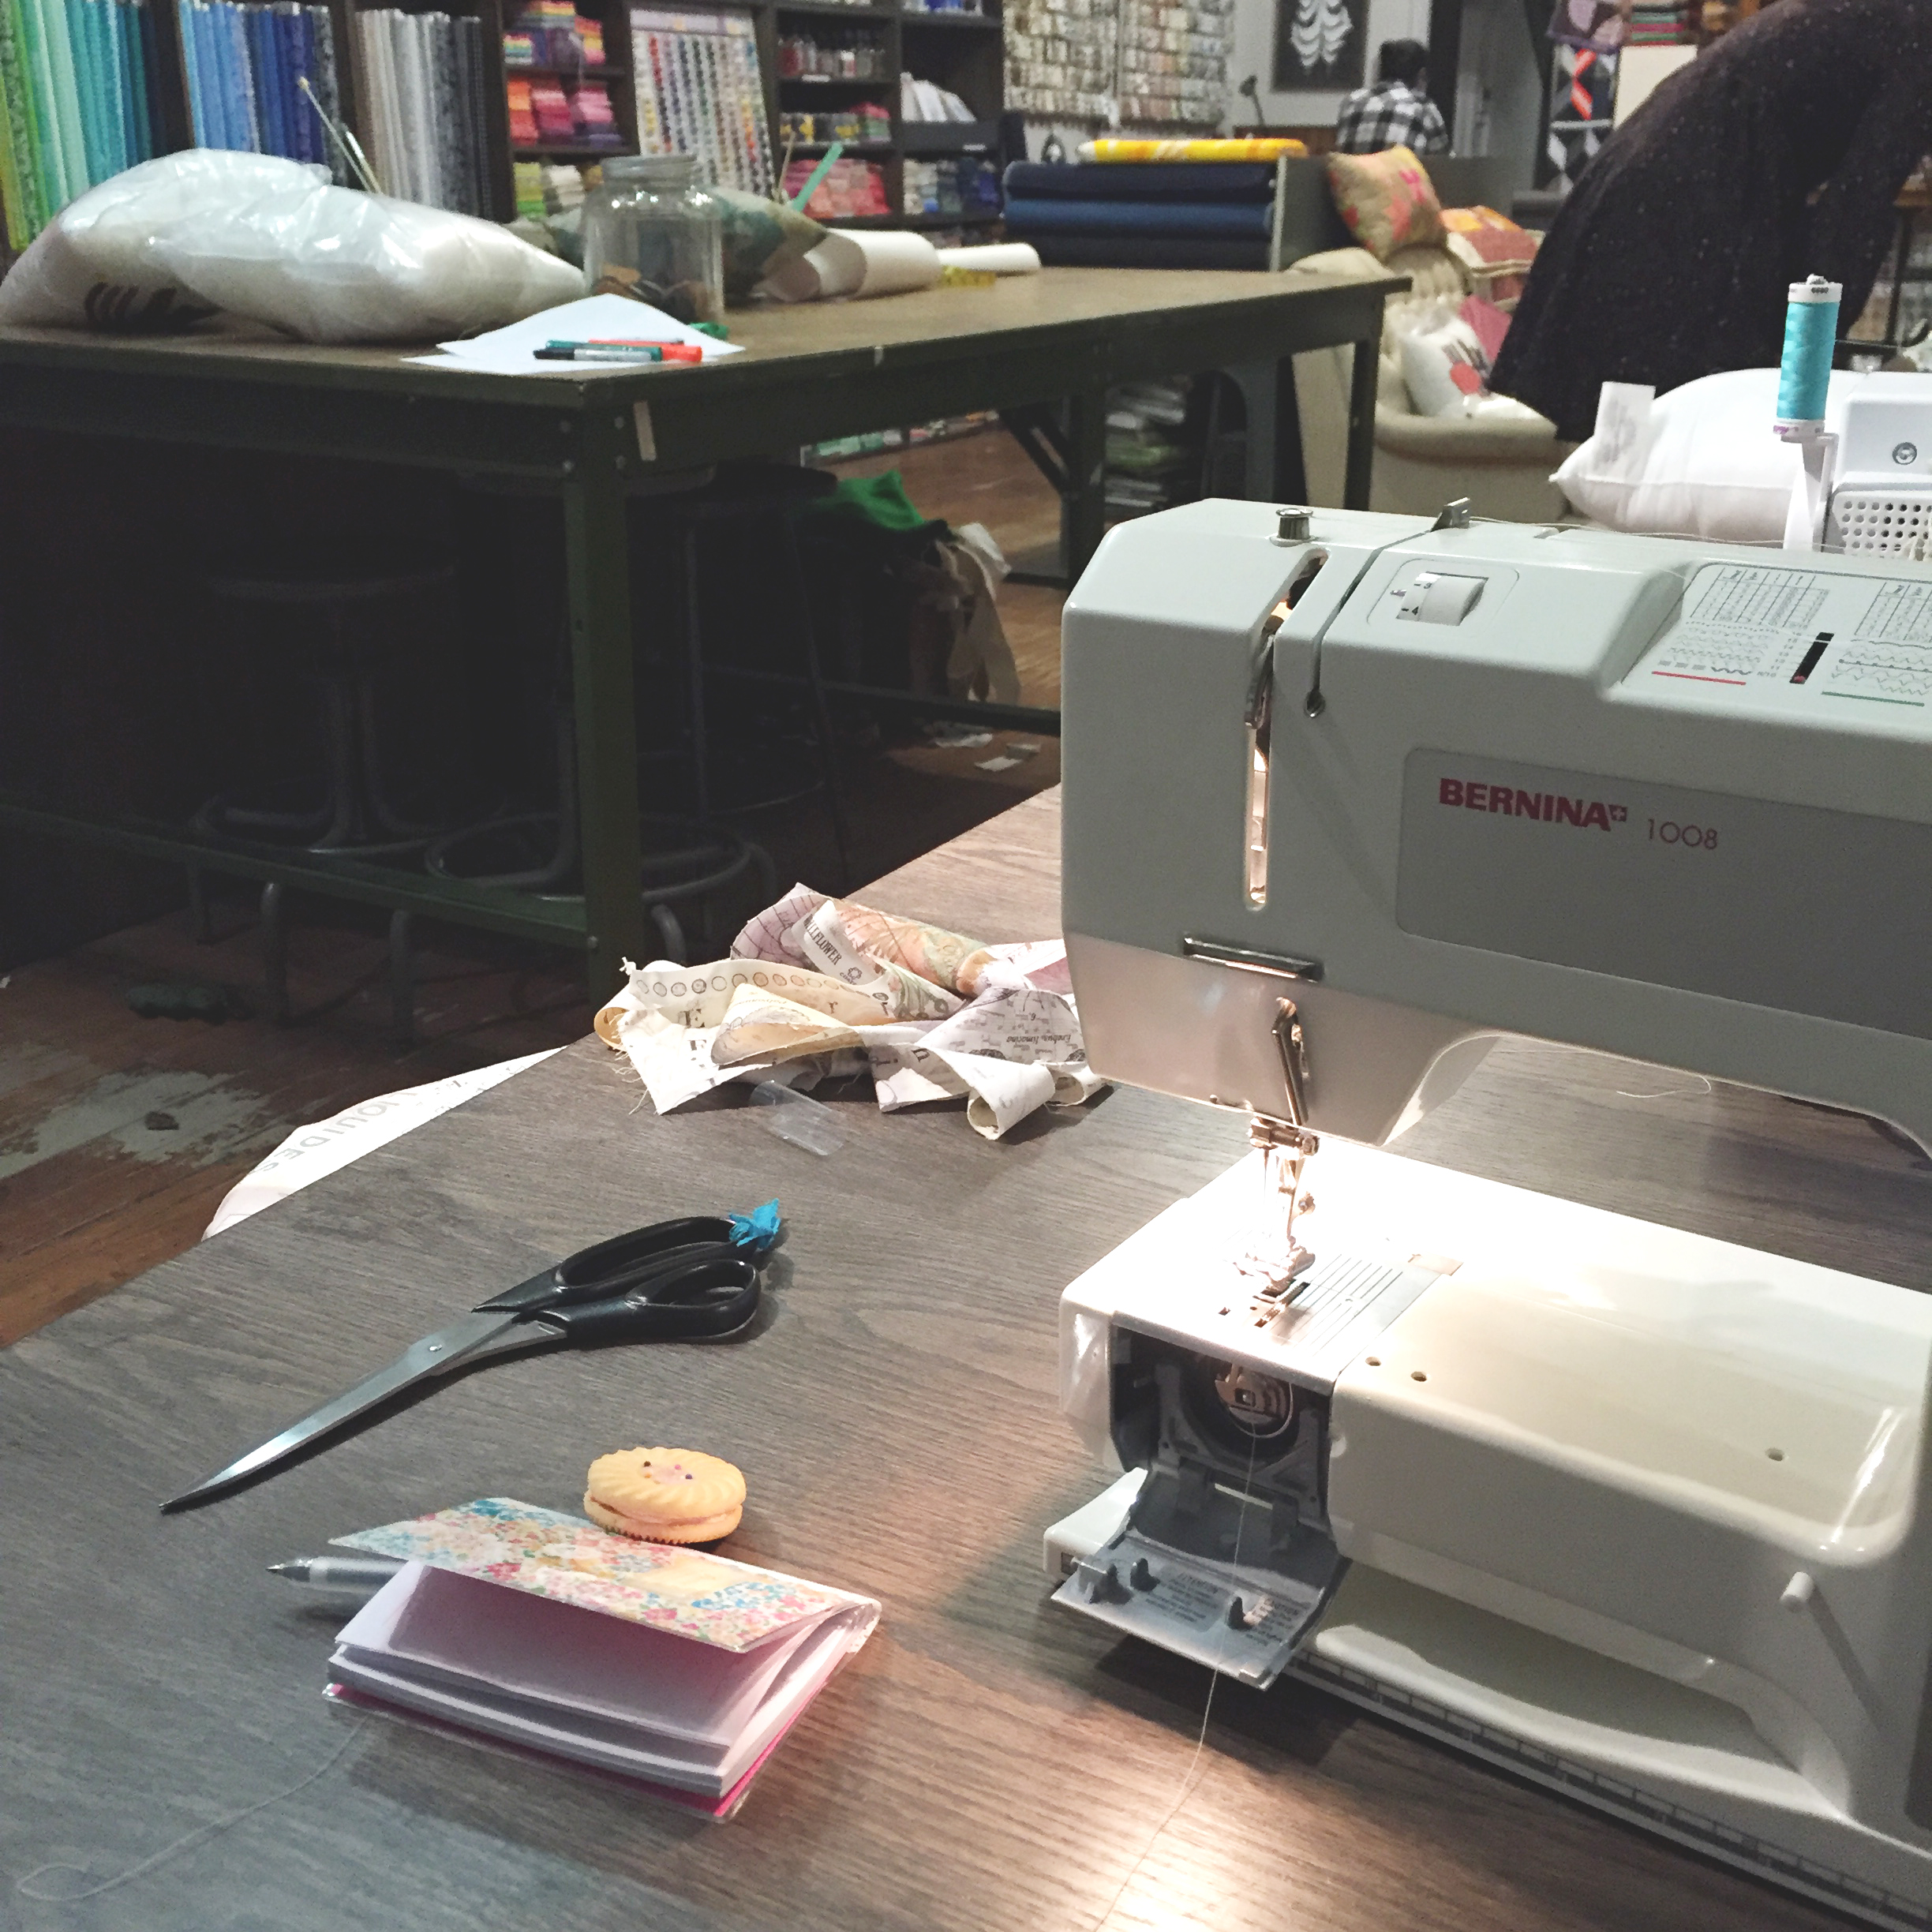
Cookie and bobbin break!
First we did the zig-zag stitch, which you can use to keep your edges of the fabric from fraying. I’m glad it’s kept inside the cover so that nobody can see my shoddy job :p

Isn’t Michele adorable? And she picked such pretty fabric!
My finished pillow product! Wahoo!
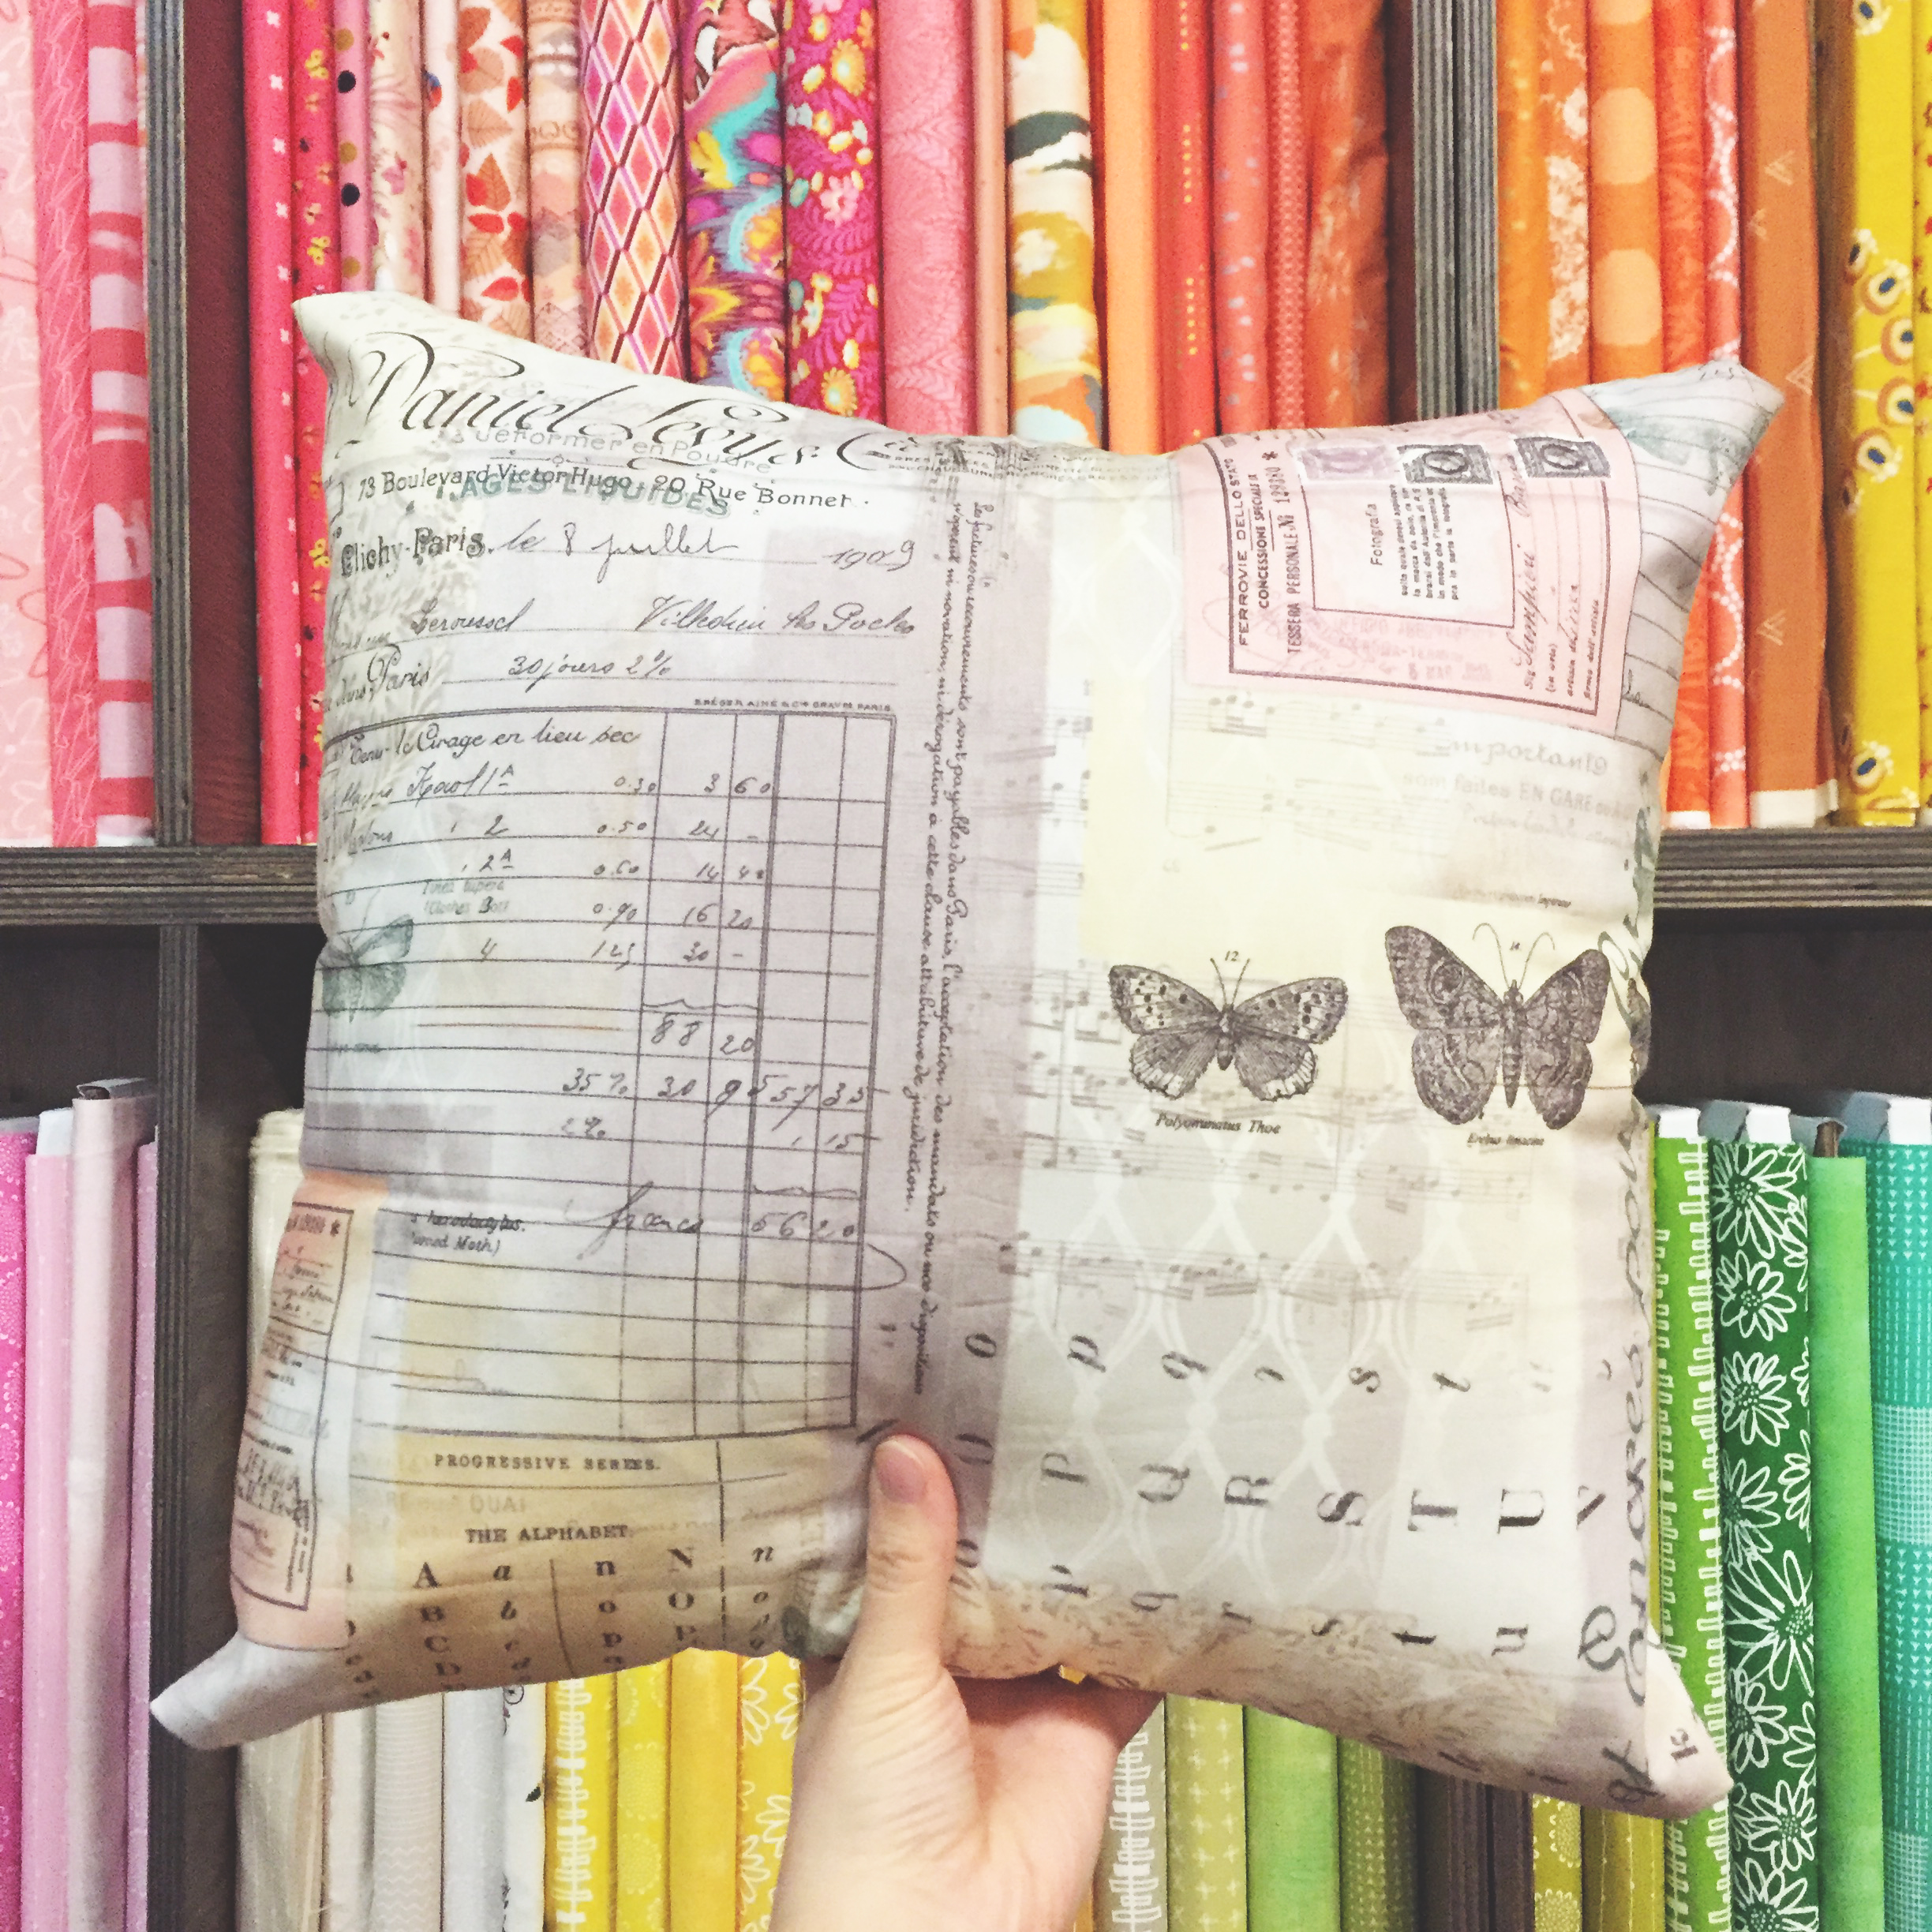
This is the back of the pillow (which I kind of wish was the front but oh well). Basically once you sew around the edges, you pin in and sew down the short sides, then lay it out and fold in to its measurements, pin in, sew around, and voila! Easy peasy. I’m an expert now.
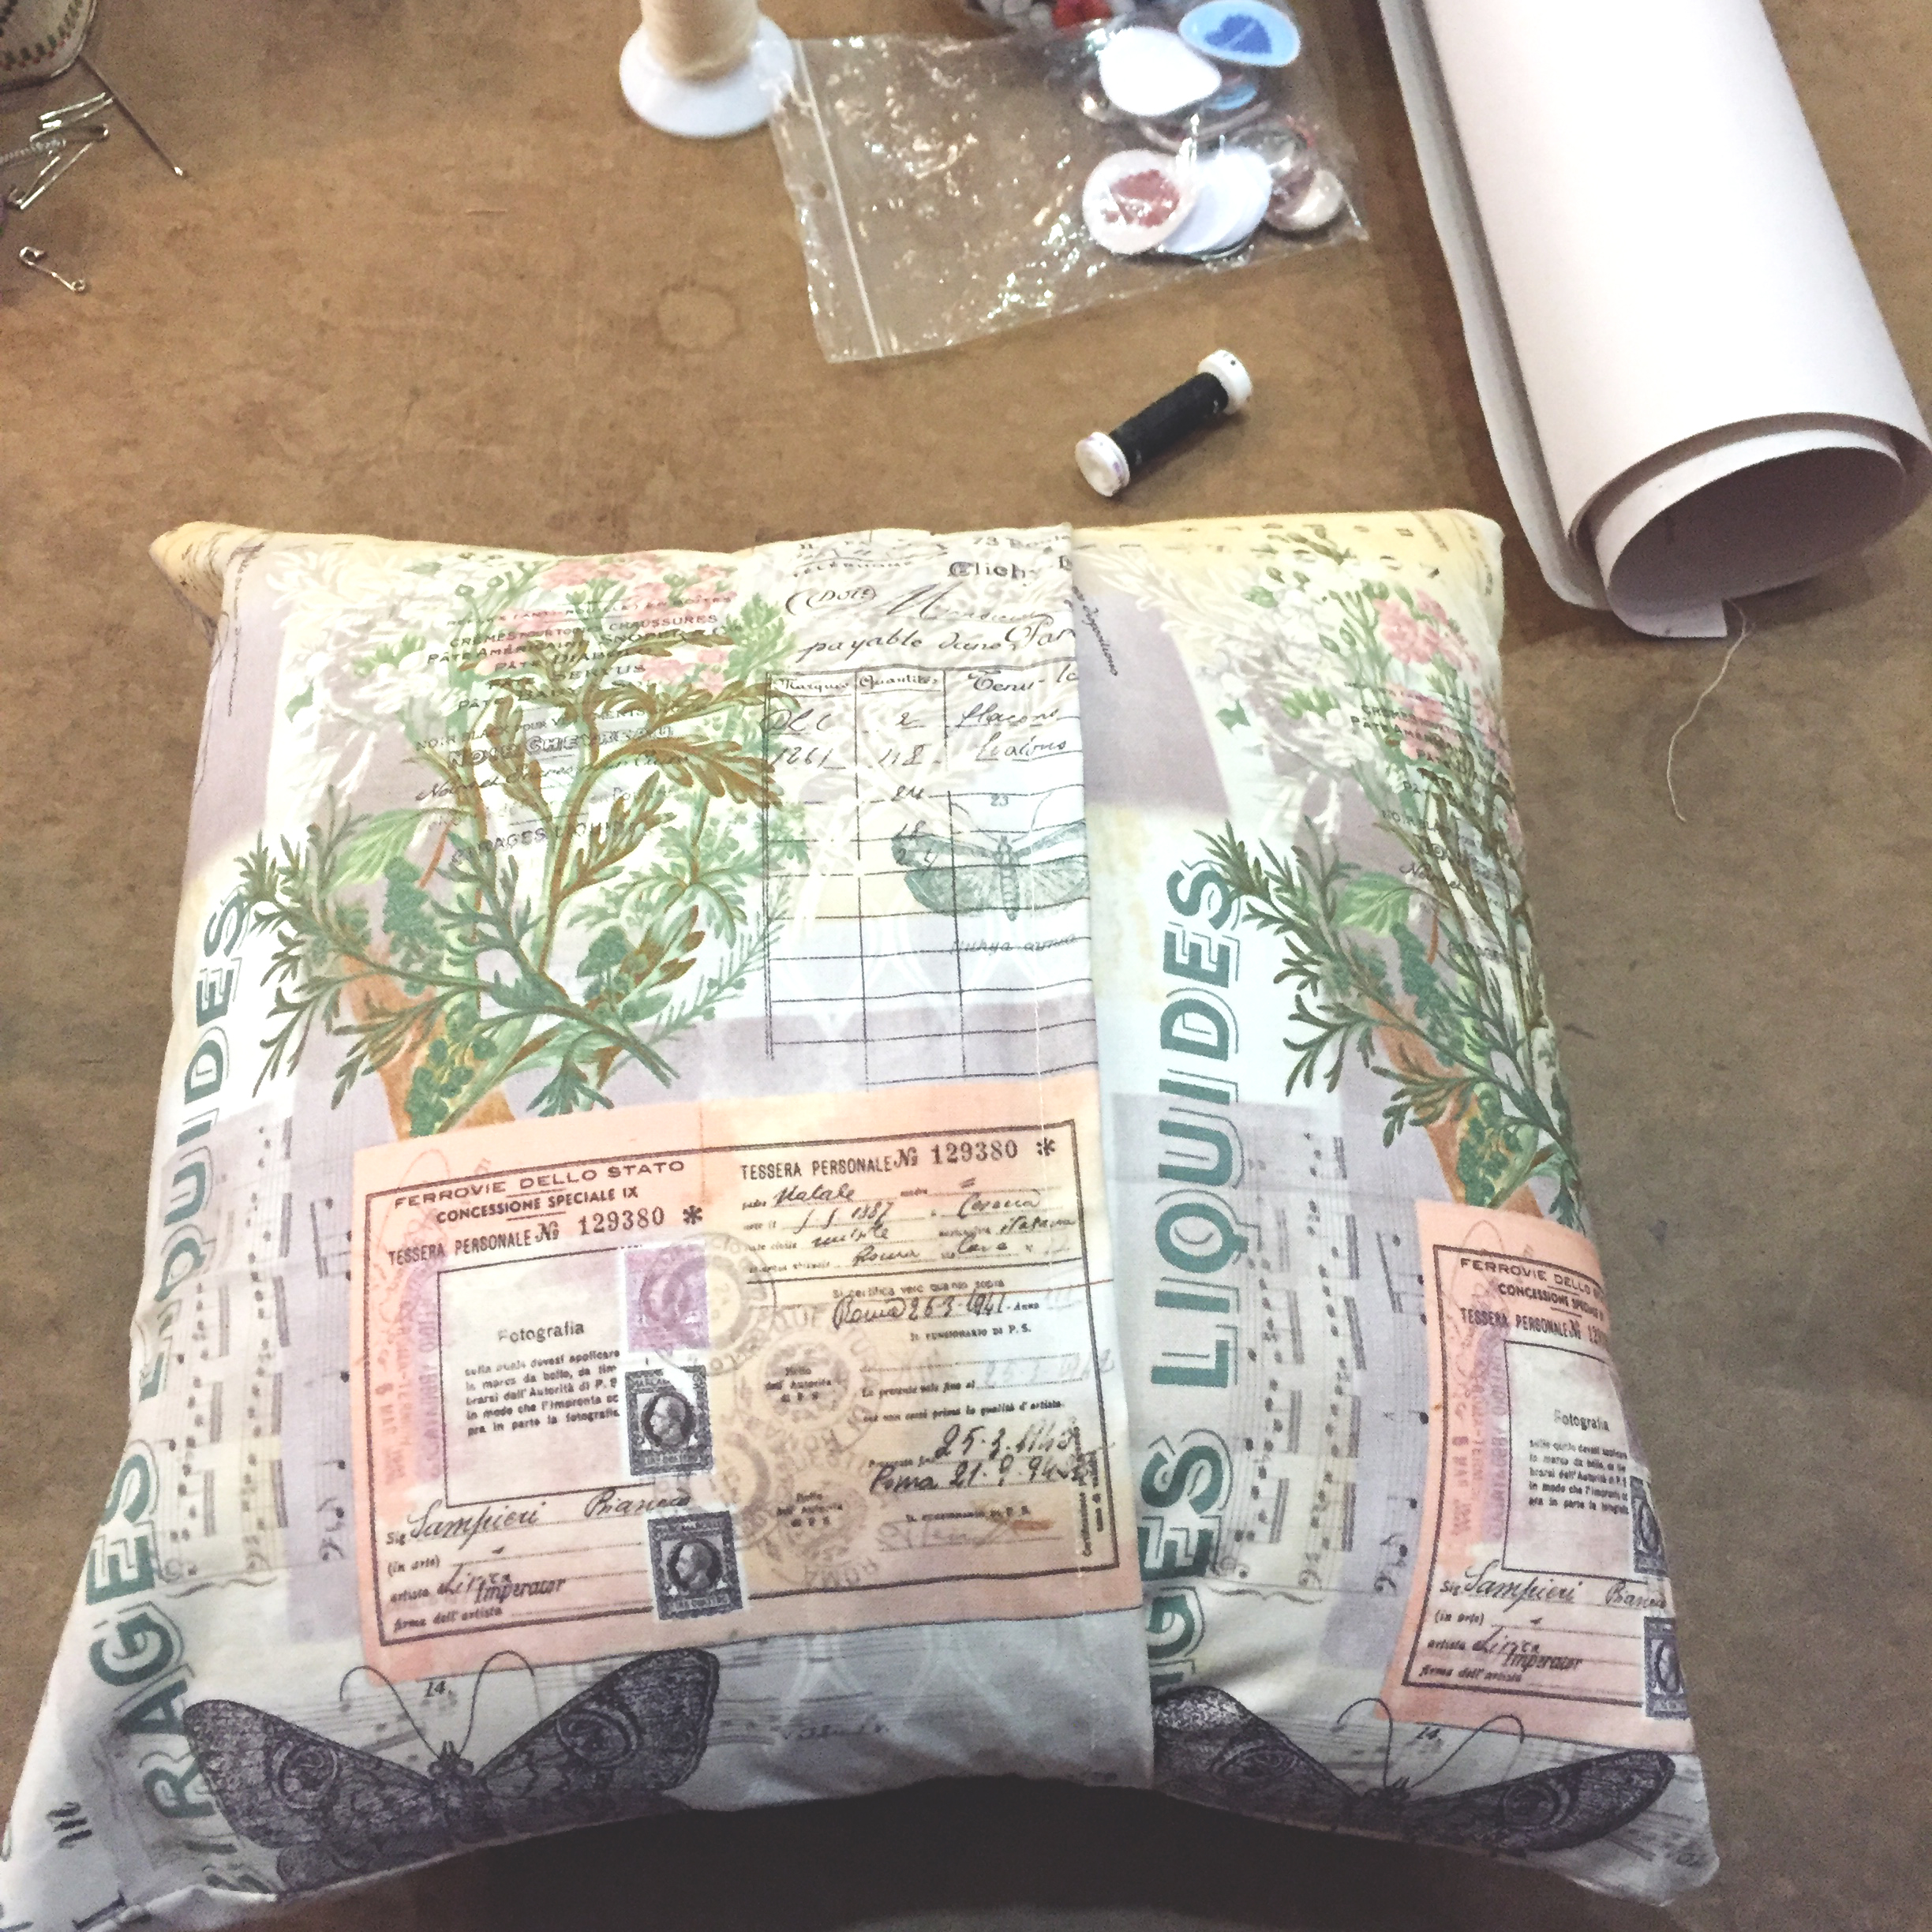
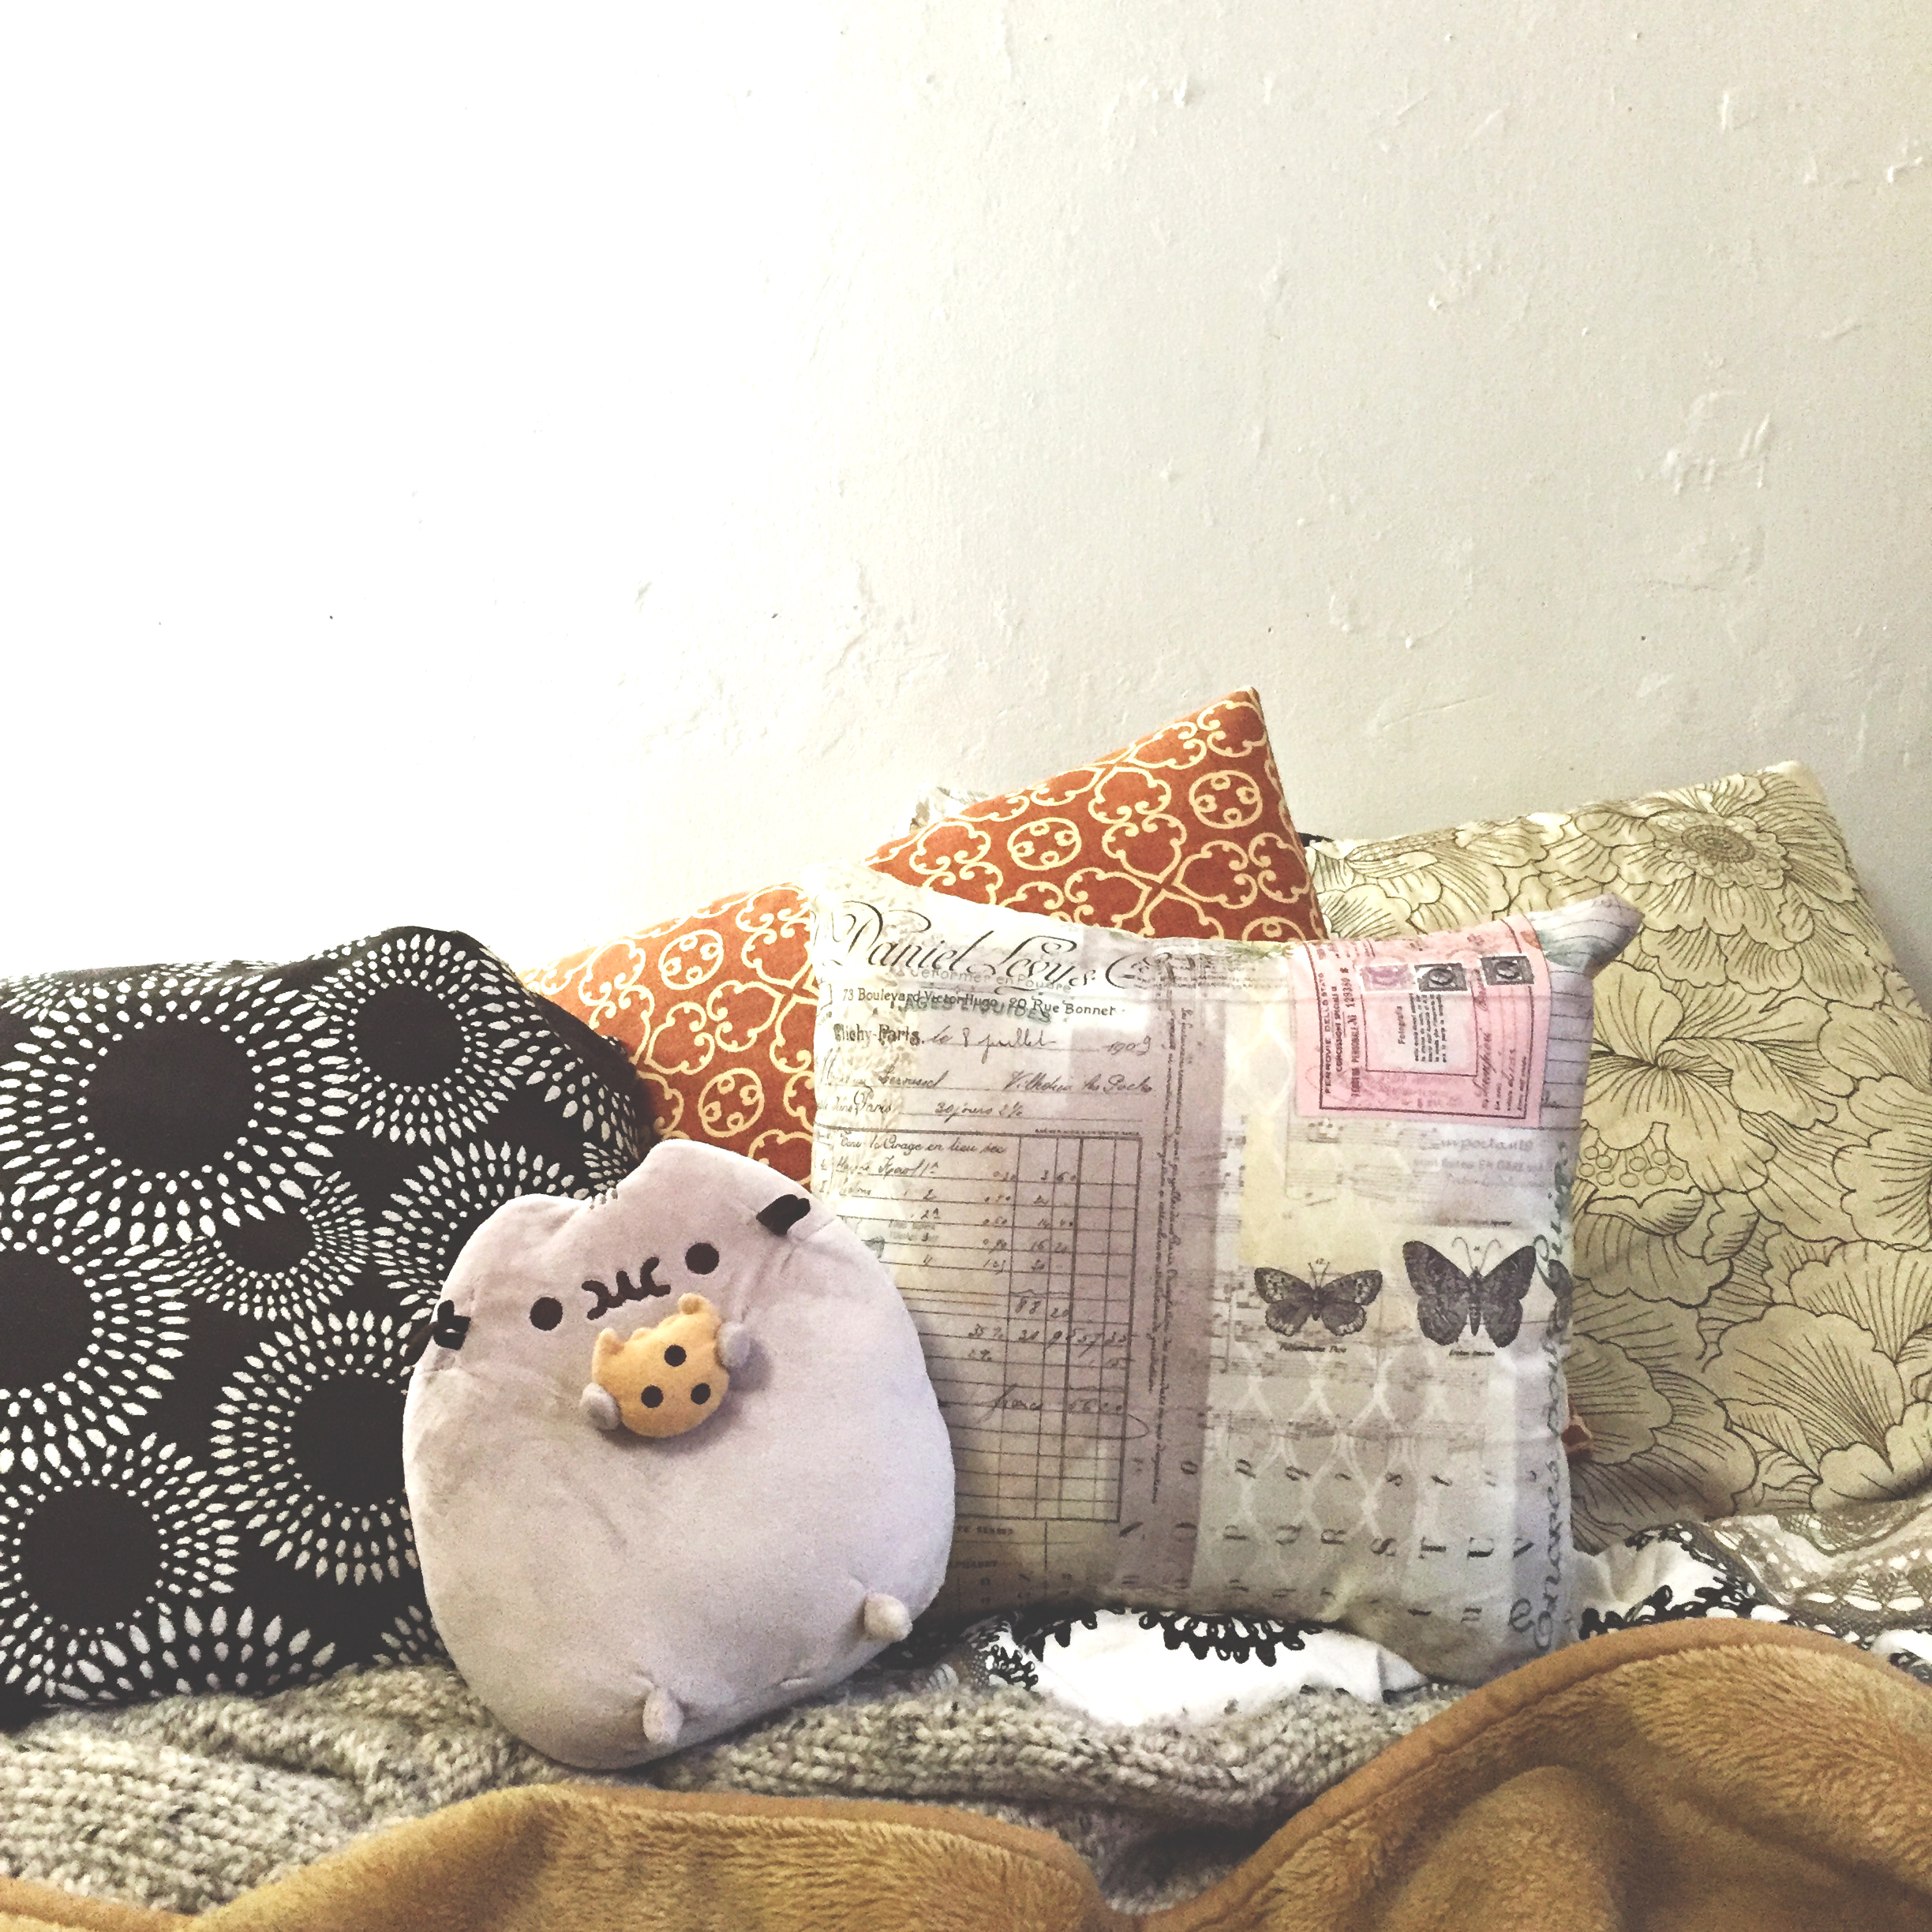
Looks great on a couch!
 And looks great on my bed 🙂