 Instagram has a huge community for #filofaxlove and #planneraddicts galore. A lot of the snail mail lovers I follow are also within that. My organized paper people! Once I started following lots of those people on Instagram, and followed this disscusion on The Postal Society, I decided I wanted to try a filofax-type planner for 2015. You know – the planners that were big in the ’90s? They’re hip again, of course! All these people take nice pictures of their planners and seem to love them – I wanted to jump in on the action.
(Want to see some of these people? Try Seaweed Kisses, Sara Zorel & Zie Darling.)
I was also drawn to these kinds of planners because they are customizable and totally under your control. I am so picky with my planners! For years, I was using this Moleskine, and then last year, Flow came out with a better x 100 version of that. I was hoping Flow would continue that style, but they chose a completely different look this year that I wasn’t a fan of. (And I didn’t see the Frankie planner until too late!) So, 2015 became year of the filofaxy planner! Why not!
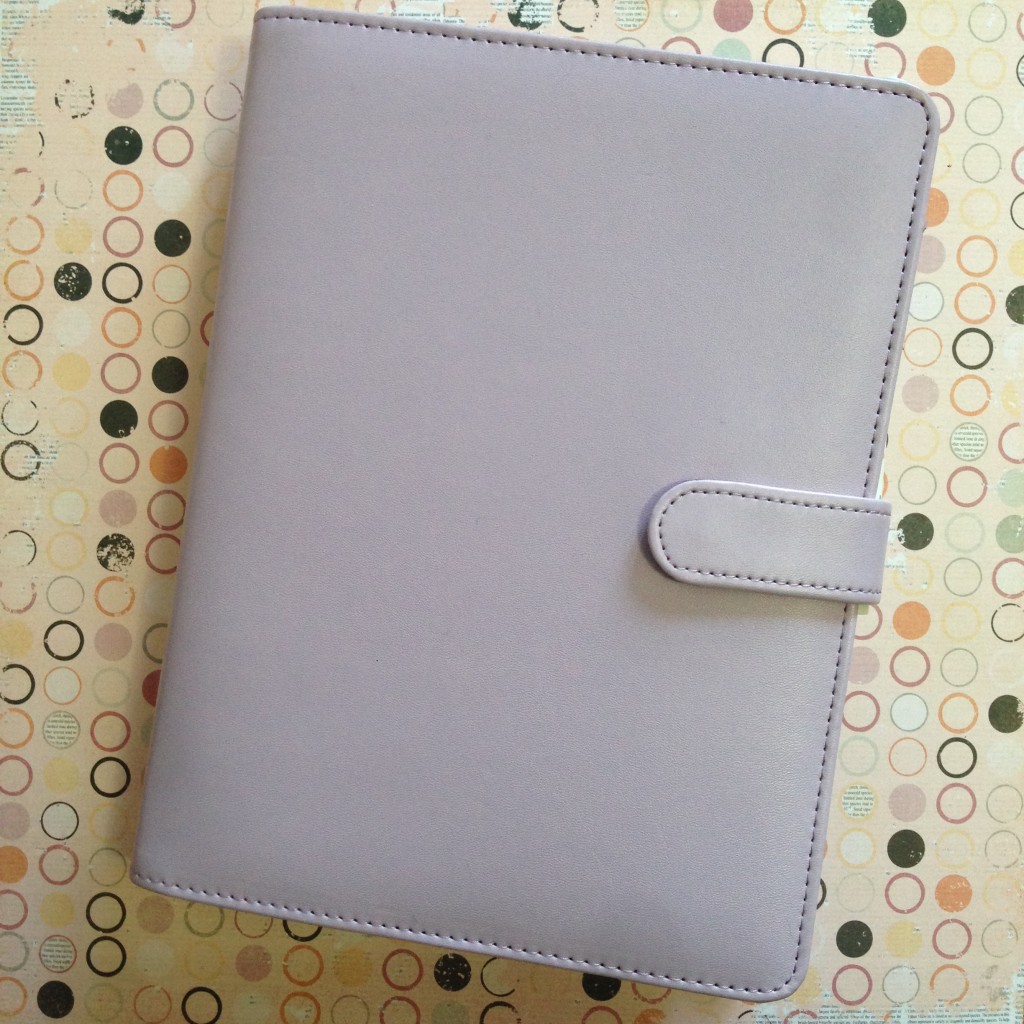
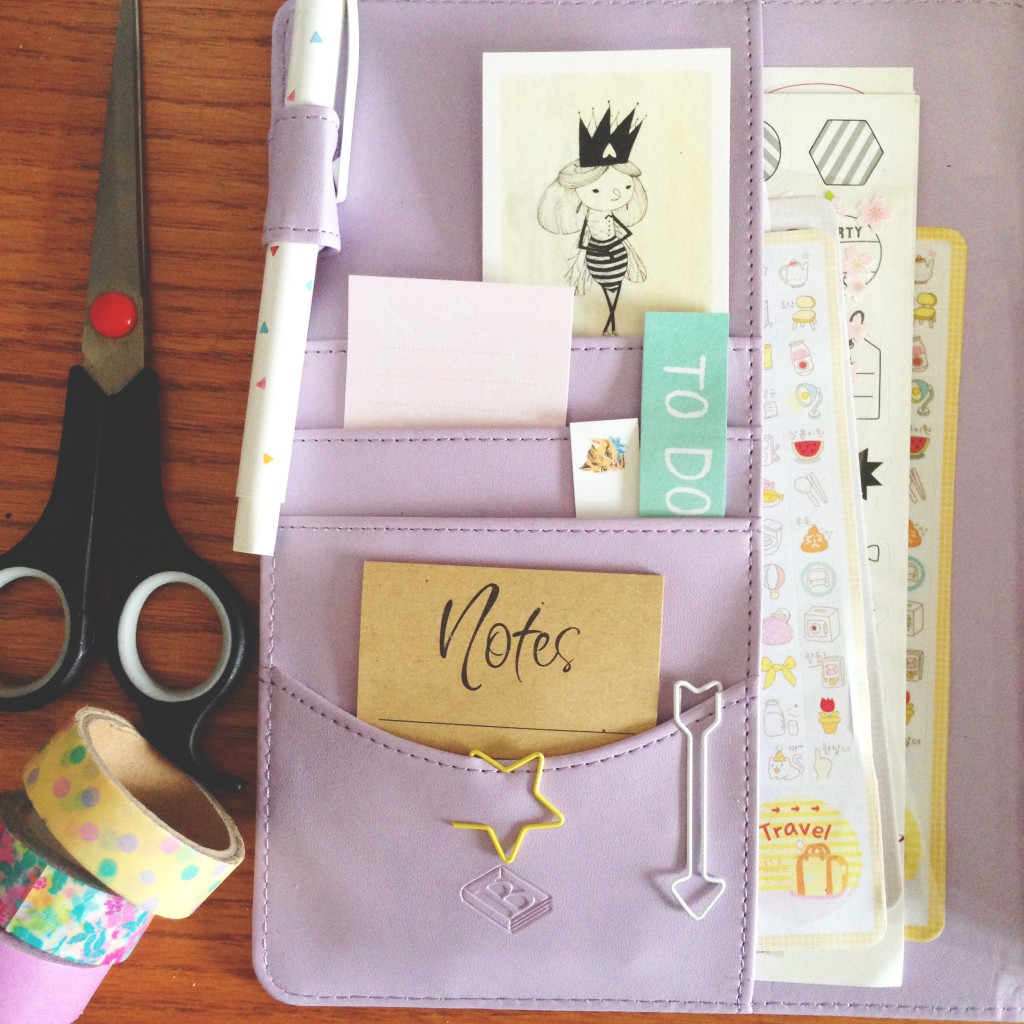
First off – I am perplexed by the hype of the actual Filofax brand. Everything from there is so expensive! Even the page punches. It’s not my style. So I ordered this gorgeous lilac planner from Happie Scrappie. A5 size, has pockets, etc. I wouldn’t be able to handle the personal size.
I left my customizing to the last minute. Literally, on December 30th, I was having a bit of a freak out that I didn’t have a planner ready yet. I was convinced that was why that same day was the first time I’ve ever double-booked myself!
Let me tell you this: setting up the planner is the hardest part of using one if you do it from scratch this way. I had many frustrated moments and I questioned why the heck I chose this path rather than just getting another Moleskin. And even though the online community is so huge, I felt lost. So here’s what I did.
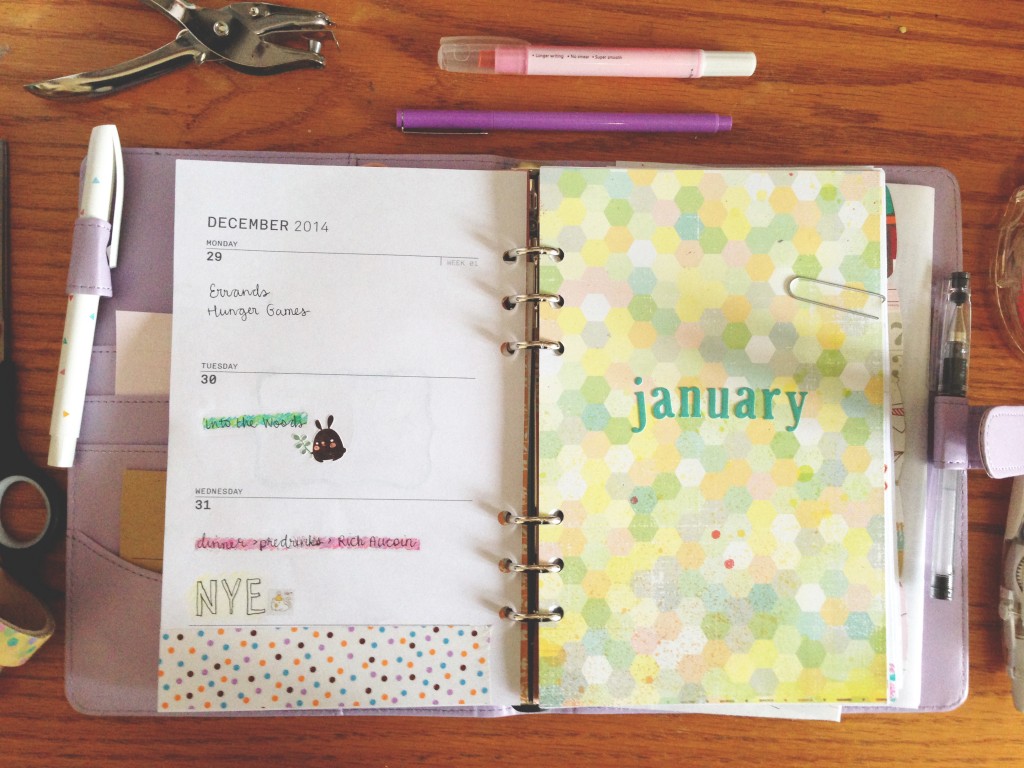
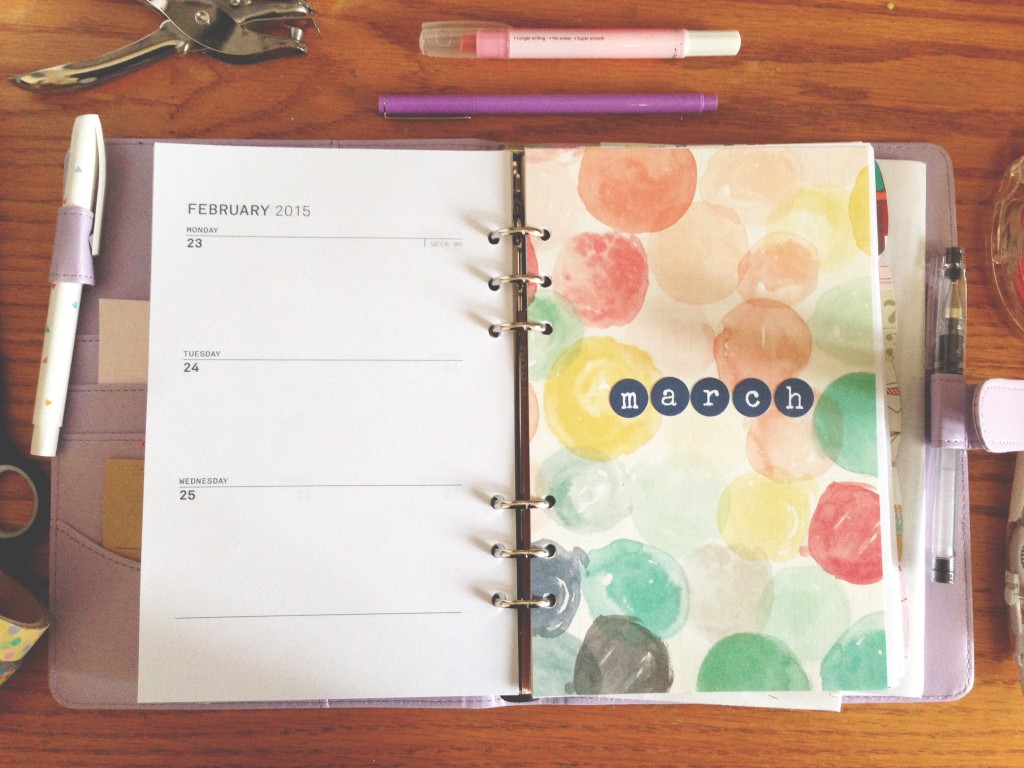
Ordered Week on 2 Pages (WO2P) Unlined pages for the year from whatshewas. You can order already printed pages, but I wanted to save costs and time. This was also the cleanest, simplest design I could find. I’m not into all the busy pages I’ve seen elsewhere. I like to start clean and then do my own thing!
I recommend using heavier paper than your normal printer paper. I got 24 lb, and it does the job nicely. I could only find such at Staples. If I use a heavier pen, the ink doesn’t seep through.
Then I had to cut the paper – 8.5×11 (A4) – in half to make A5. I used my guillotine cutter to make that go quicker.
Next up was printing the pages. Be careful, as I made the mistake of taking the file to my local copy shop and getting them printed, only to come home to find out that I had them printed on the wrong sides. (As in, if you flipped the page, the dates don’t flow correctly. BIG SIGH.) So, I decided to try again on my home printer which doesn’t automatically do double sided printing … that was a fun evening. Sara from whatshewas said to print the odd pages first, then flip them over to even. I also had to size the pages down to 85% so that they fit nicely on the paper and punched holes don’t take out any text. This was good because I realized my printer & computer could do things I didn’t realize it could before!
Next up is punching the pages – this is one of the most frustrating parts. And as you will see, I messed up A LOT. Practice this if you can. (And I did! Gah.) The only cheap punch to find that has fine reviews out there is the Rapesco punch (awful brand name by the way). And yet, using the punch is even complicated in the sense of you have to measure out to the millimeter where the holes are supposed to go, punch, then flip the paper over, punch again. I used this video to learn.
The only other way I’ve heard of people punching pages is using a one-hole punch and lining it up with already punched pages. That works with one-offs, but not a year’s worth of pages.
So, once loads of pages were punched on the wrong side and I ate a lot of chocolate in frustration and such, I finally had my calendar pages down. At that point, I was not convinced at all that this was a good idea. I bet you wouldn’t be either.
Once I started customizing it, though, I had more fun.
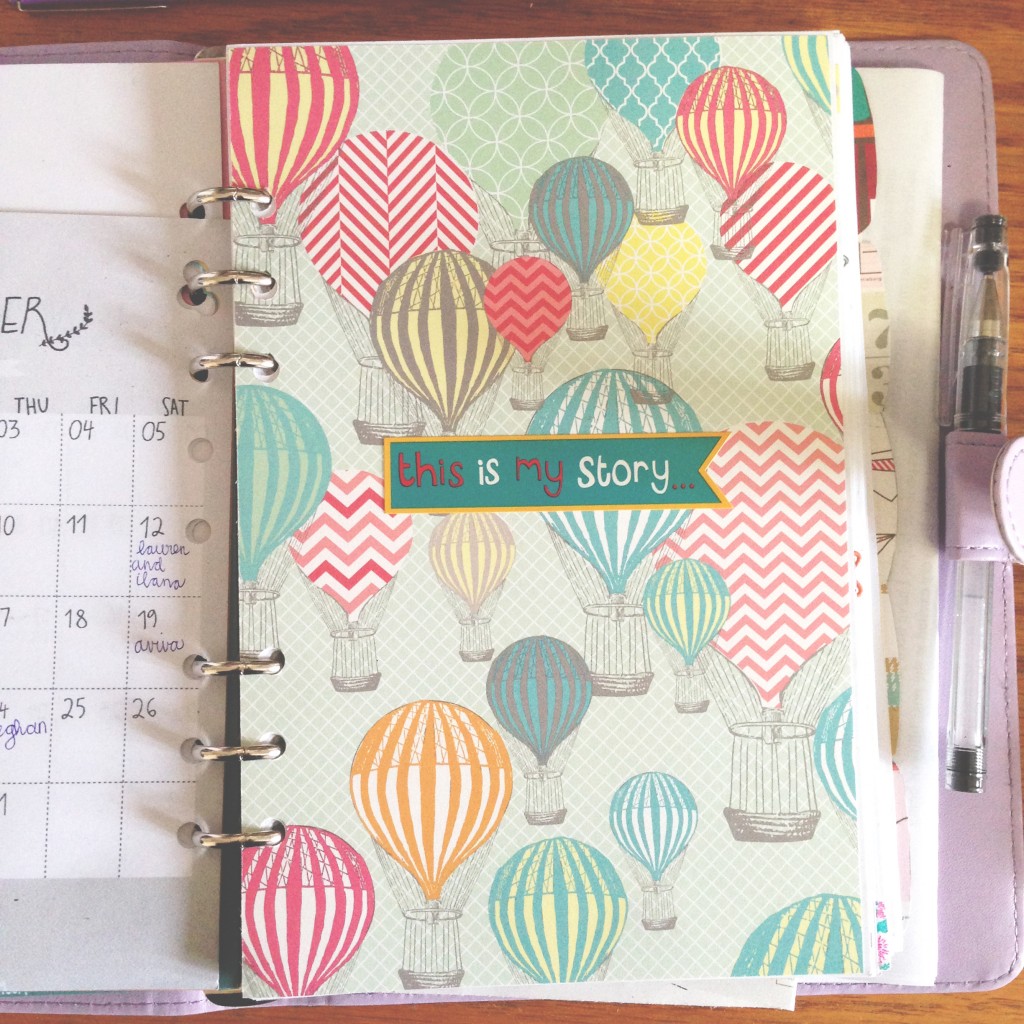
I made a front page out of velum and scrapbook paper.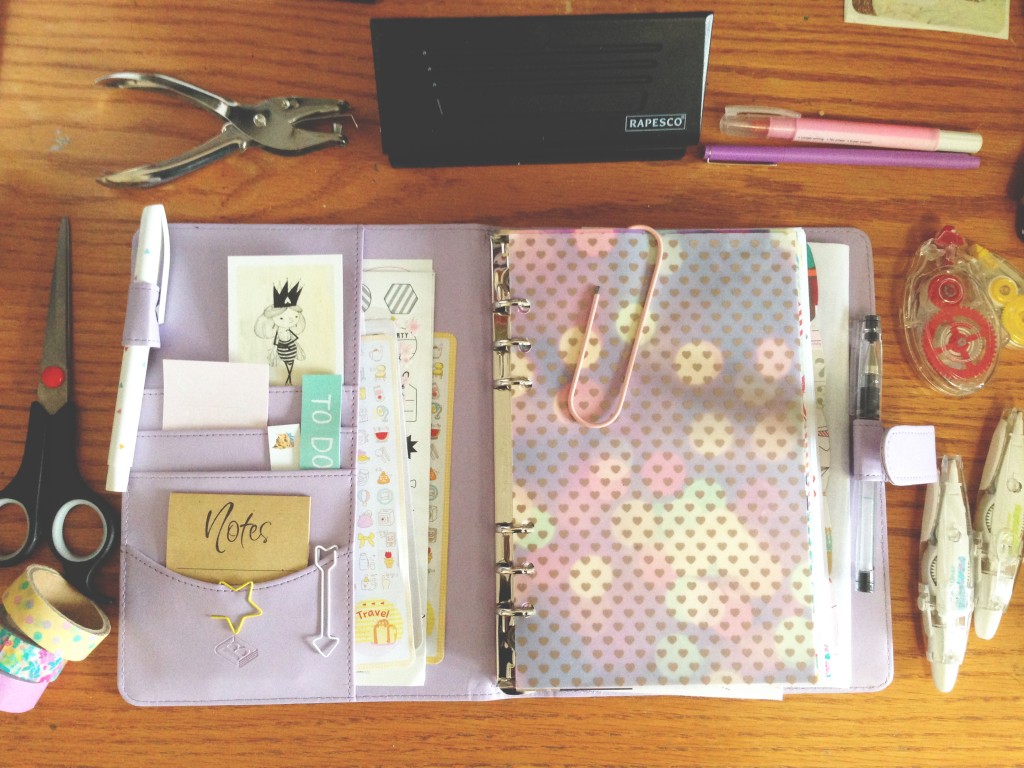
I loaded up on stickers and post-its.
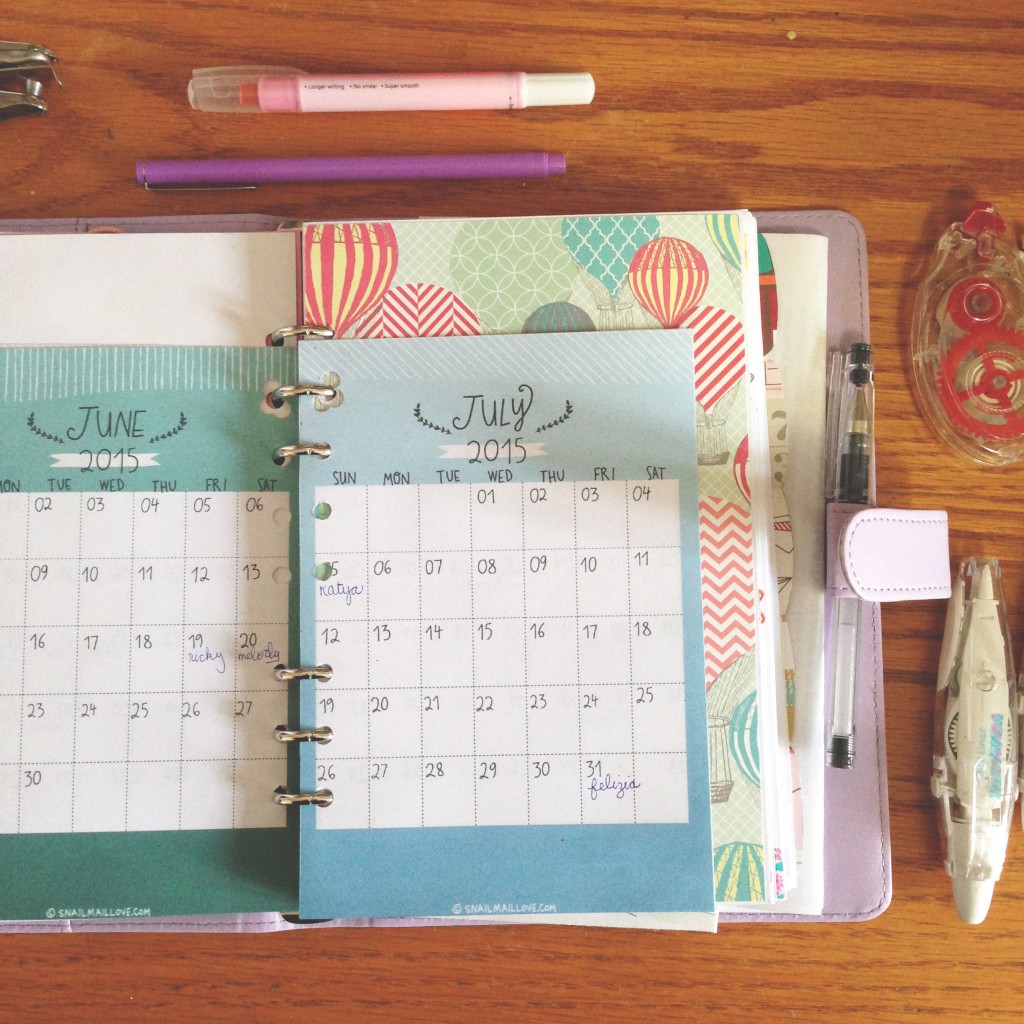
I added monthly calendars from Snail Mail Love.
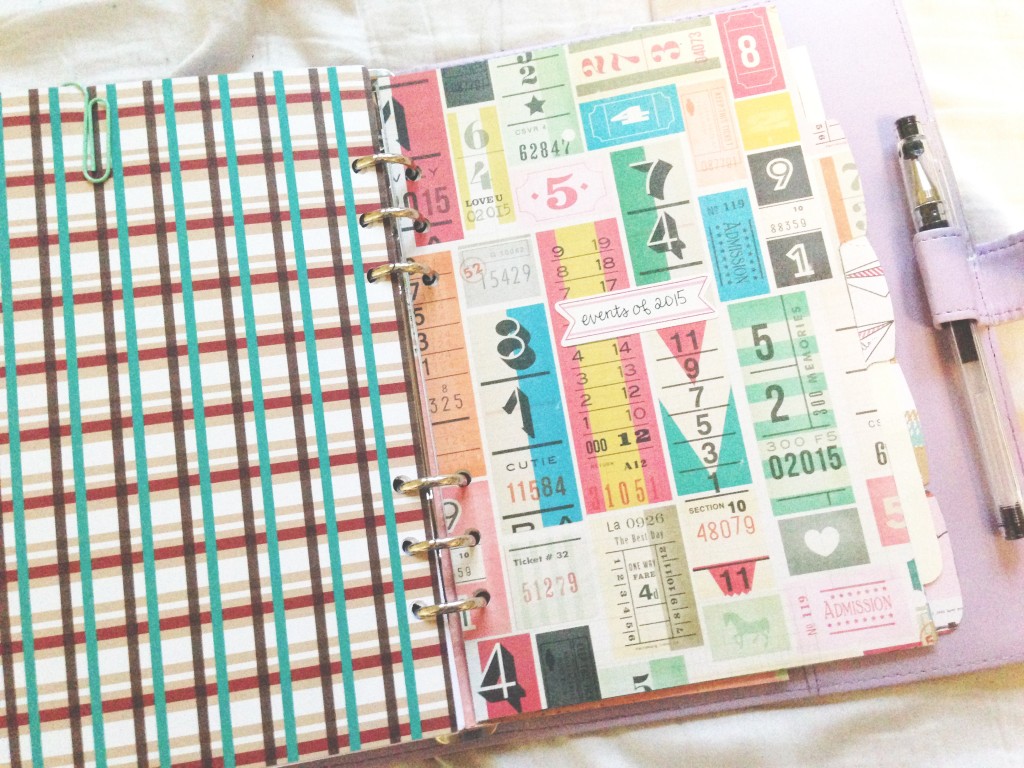
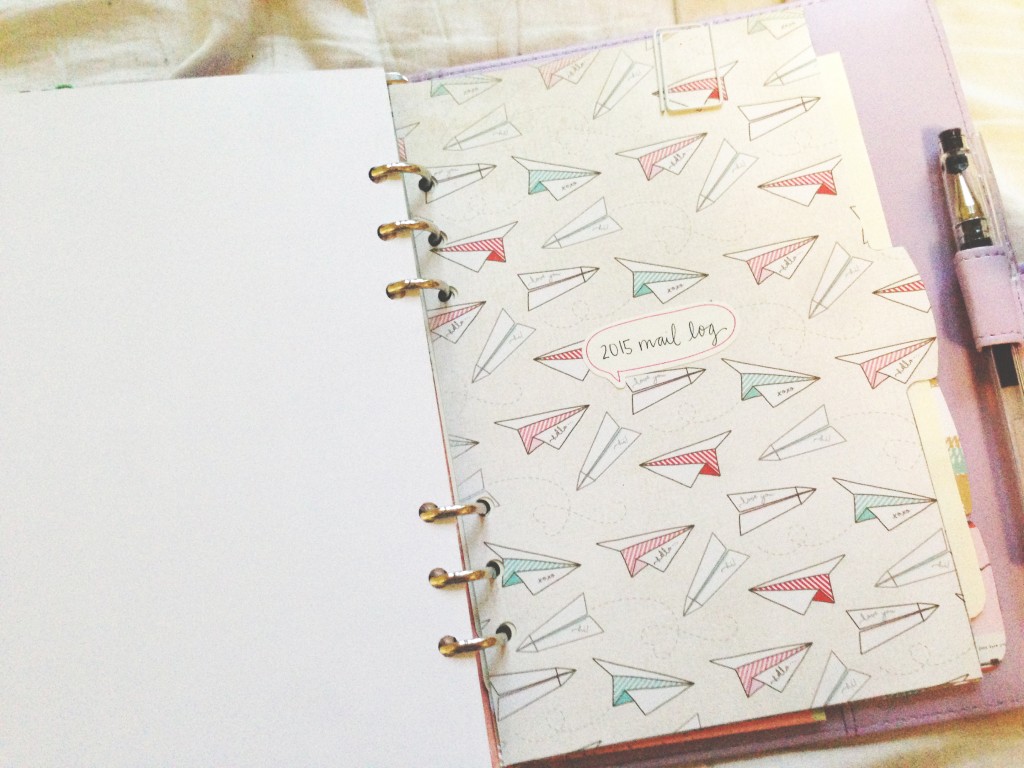
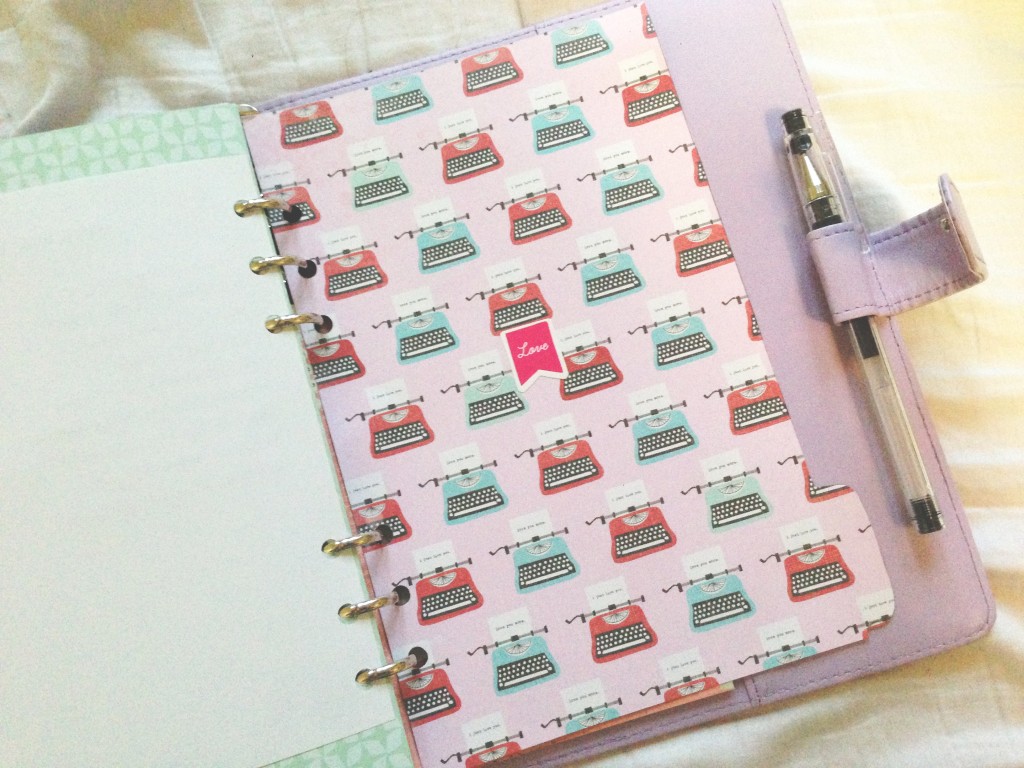
I made page dividers for every month out of scrapbook paper.
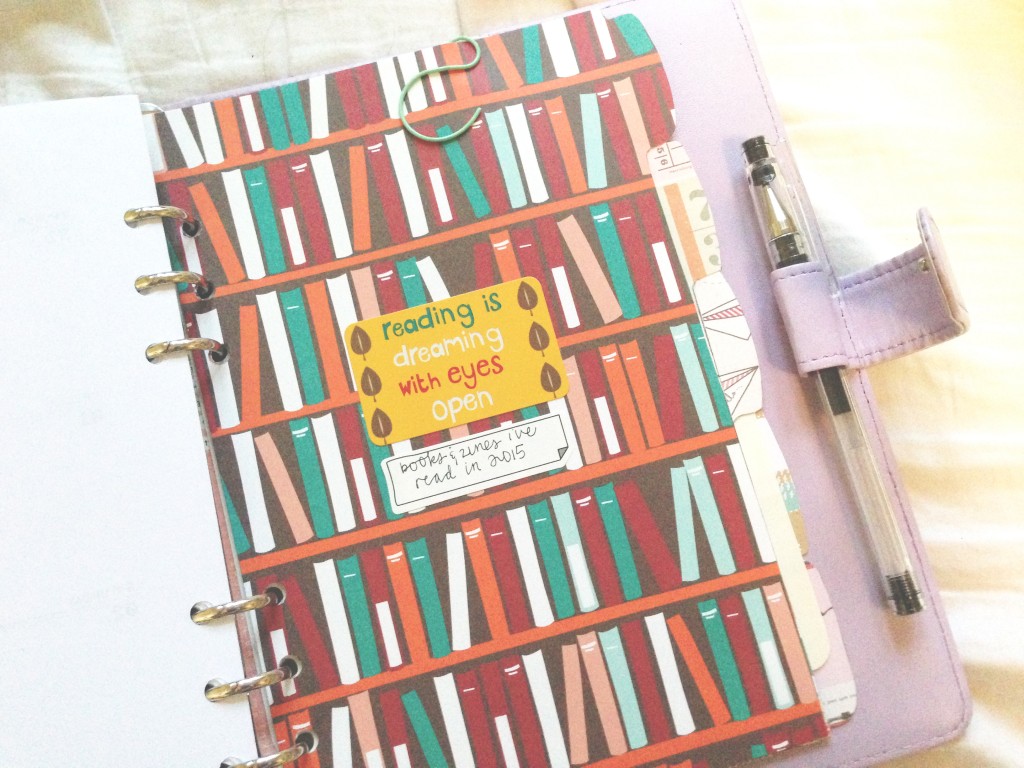
I made sections for books & zines I’ve read, events I’ve gone to, mail log, blog ideas and loveydovey things out of scrapbook paper, traced from dividers I found at Target.
I’m not done yet, but I do like using the planner now. It’s pretty full, so I can’t add much more. I know some people only have a month in at a time, but my brain would not function like that! I’ve yet to add more sticky notes and notepaper.
So, for now, since I’m done the hard part, I’m content! I get a good feeling from making something and using it, it looks nice, and I’m organized. I don’t know if I’ll ever be able to switch to phone/computer/cloud calendars! Not sure if I’ll do this again next year, but I’ll leave that to later in the year to decide.
Do you use this kind of planner? Would you try to? What kinds of planners do you like?

Holy moly, this is amazing! I love everything about it, from the color of it, to the little stickers you put on your schedule *_* It’s really hard to believe you’re new to it!
I’ll be looking forward to see more posts throughout the year to be inspired by your lovely planner as you go 🙂 & by the way, thanks so much for downloading and using my calendar!!
Much love,
Fab xx
Thanks, love! That’s so nice ^-^ I will for sure keep my fellow planner nerds updated! And I love your calendar! <3